
Ever since I started kegging my homebrew I have wanted to have a true kegerator/keezer, rather than just a temperature controlled chest freezer and picnic taps. Originally, when I thought about building a true keezer, I was planning on doing a normal build where you attach a collar to the freezer and put the taps on that. A new paint job and some stain on the wooden collar to make it look nicer was all that was needed. Well, with the wedding, and demands from Steph, I had a chance to do something even more elaborate that will fit our style for years to come!
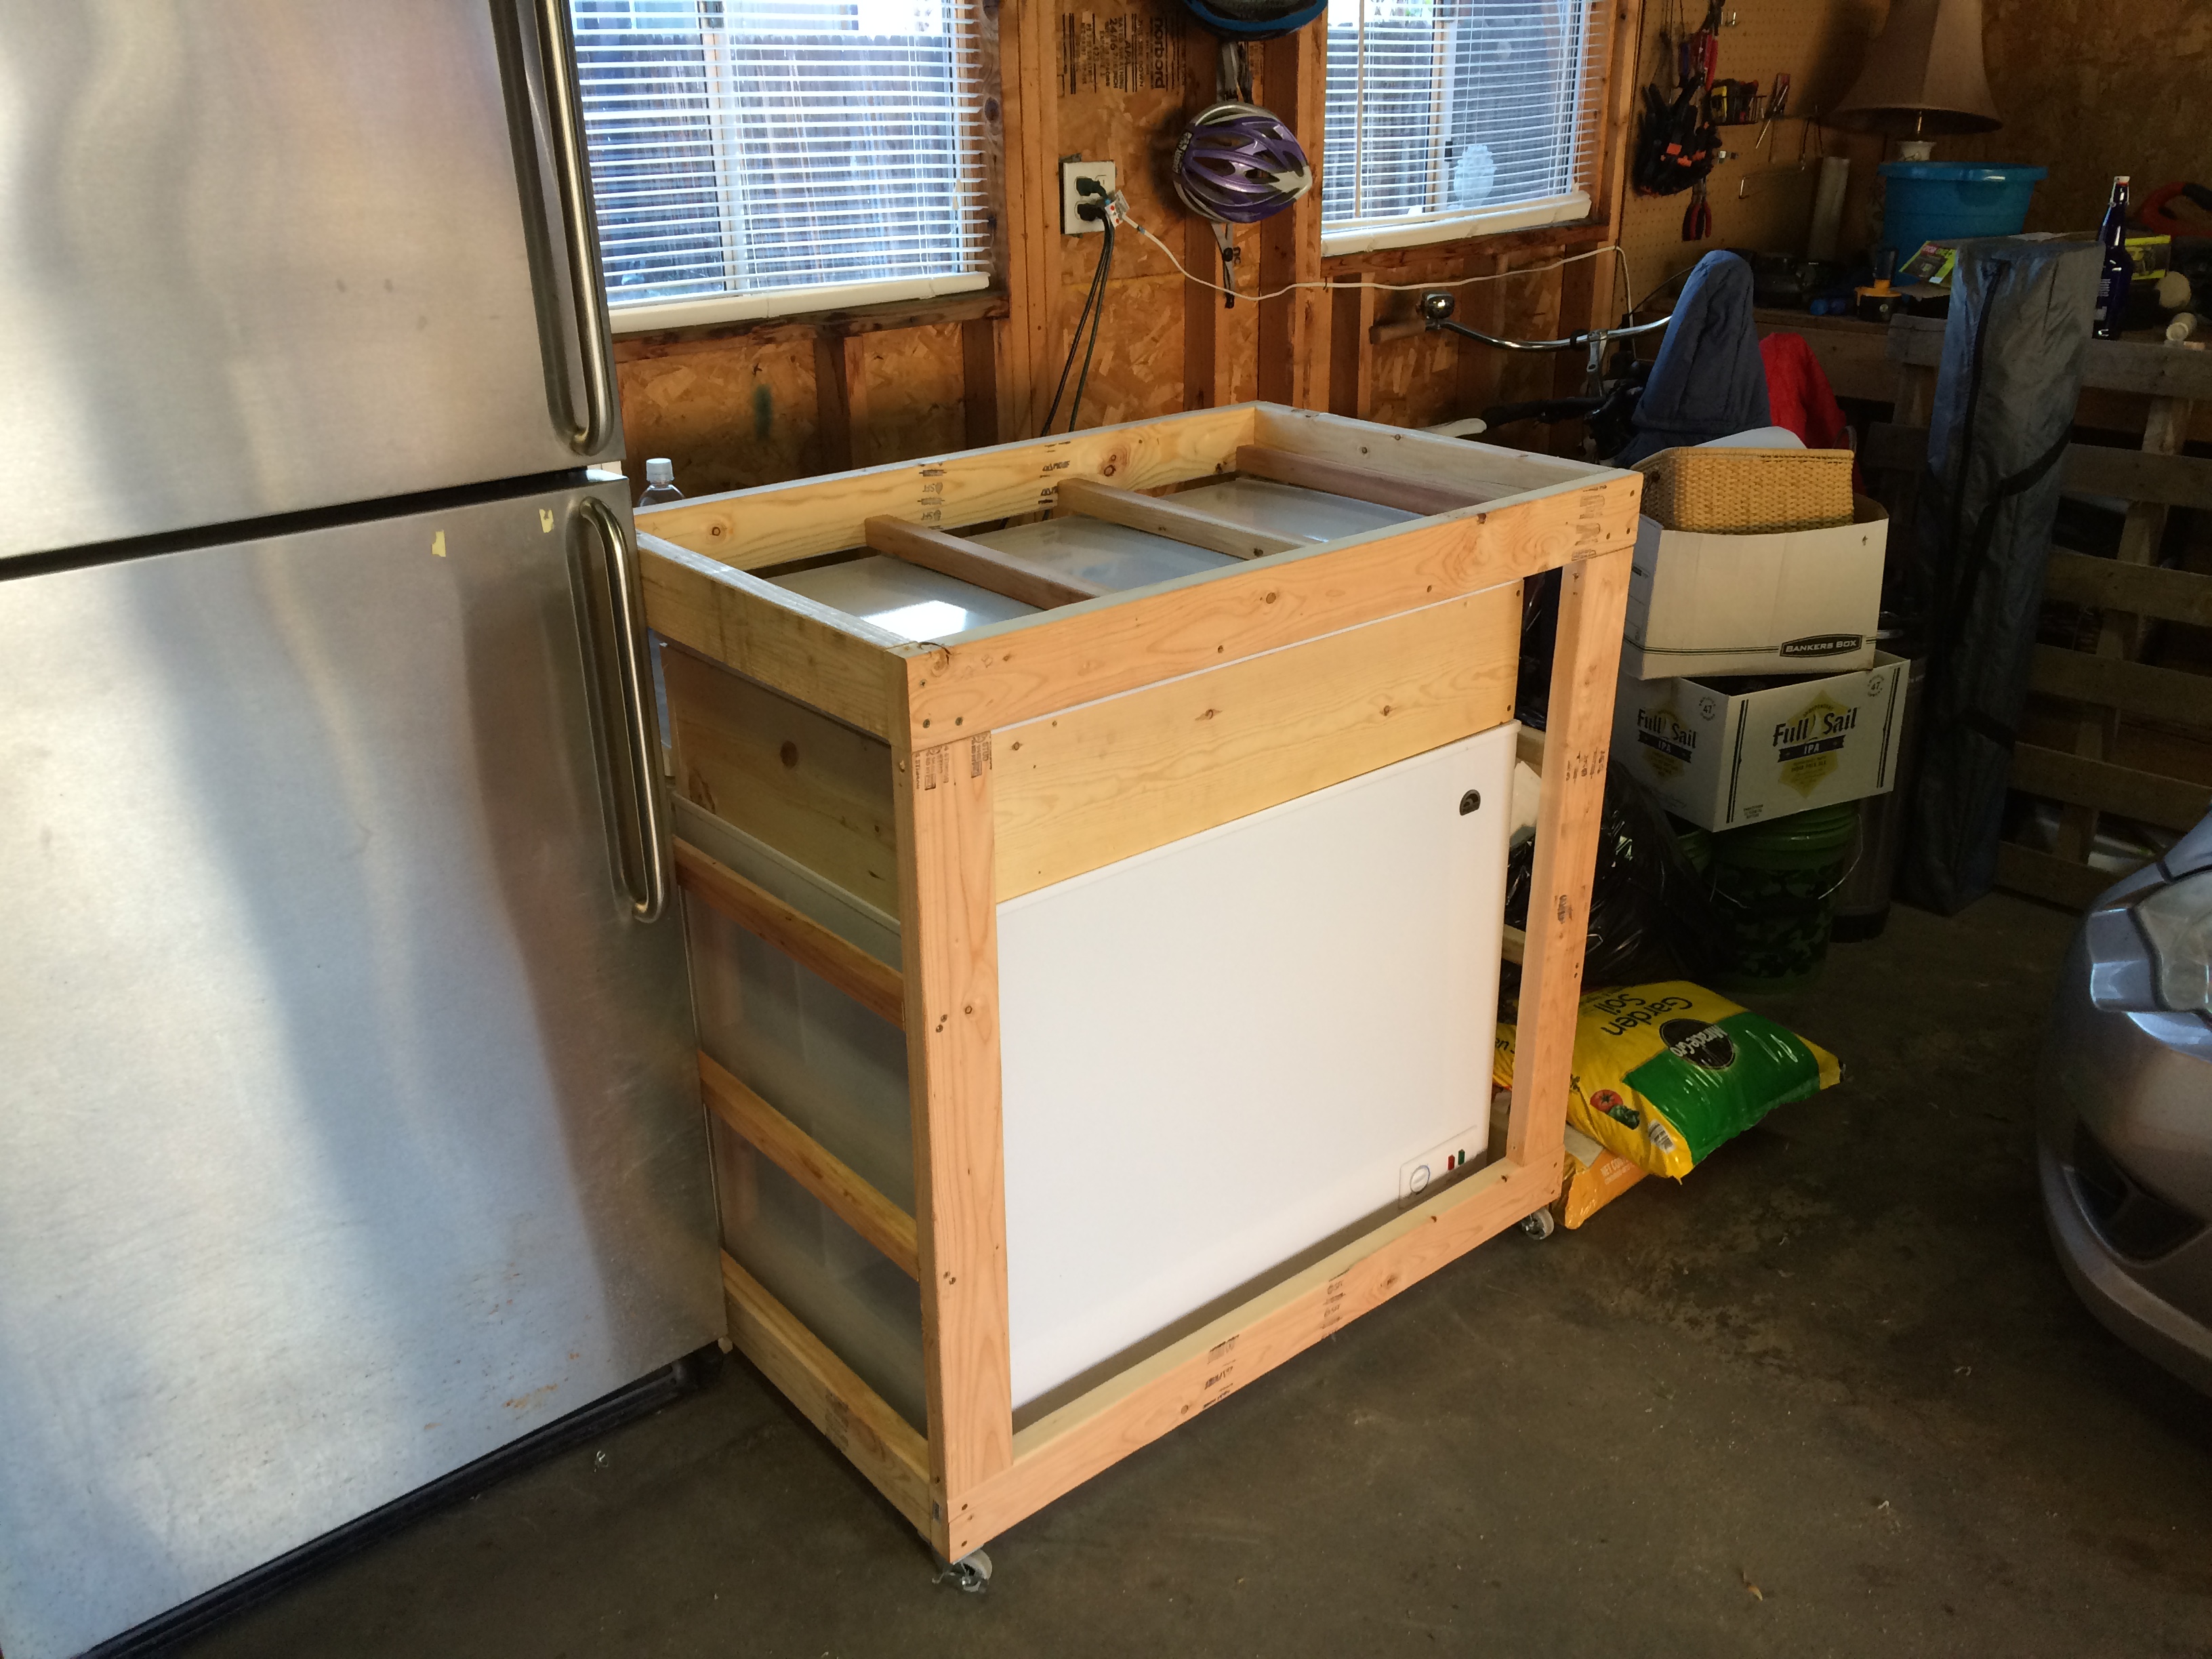
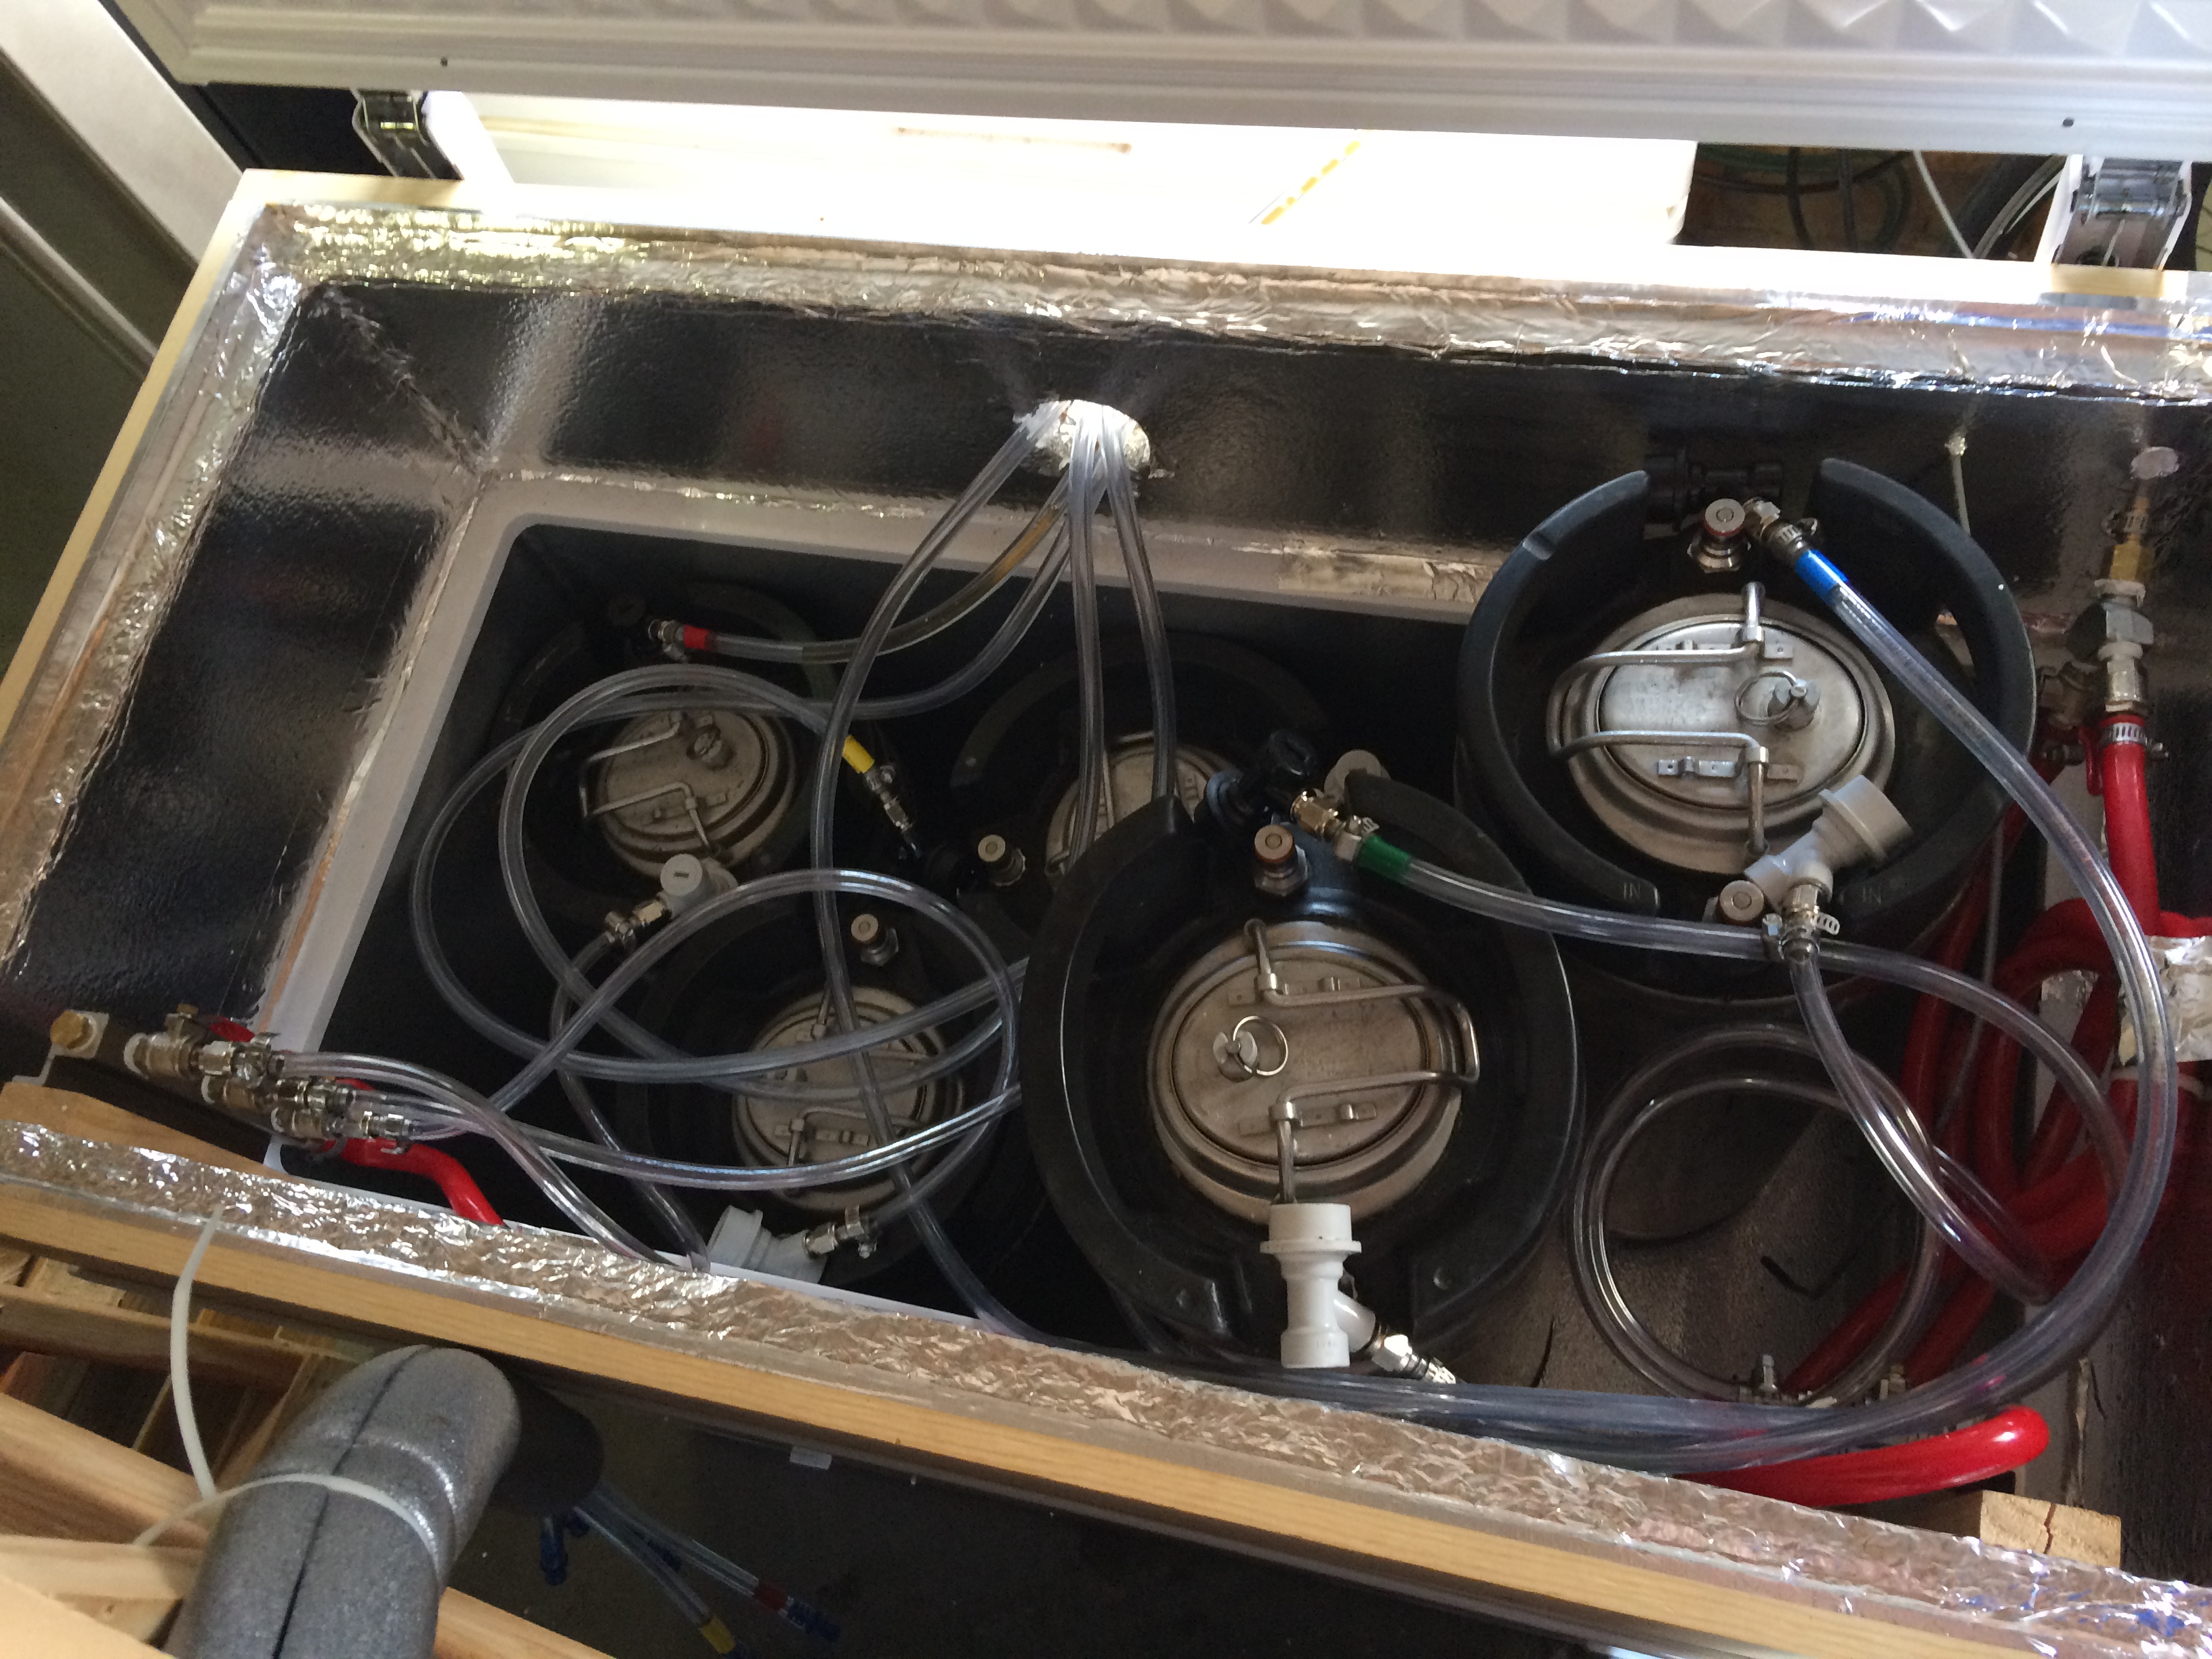
I started with a 7 cubic foot chest freezer from Best Buy and built a 3 sided frame on wheels that can be pulled out from the freezer. This allows me to open the freezer like normal to access the internals without having to build a lid into the frame.
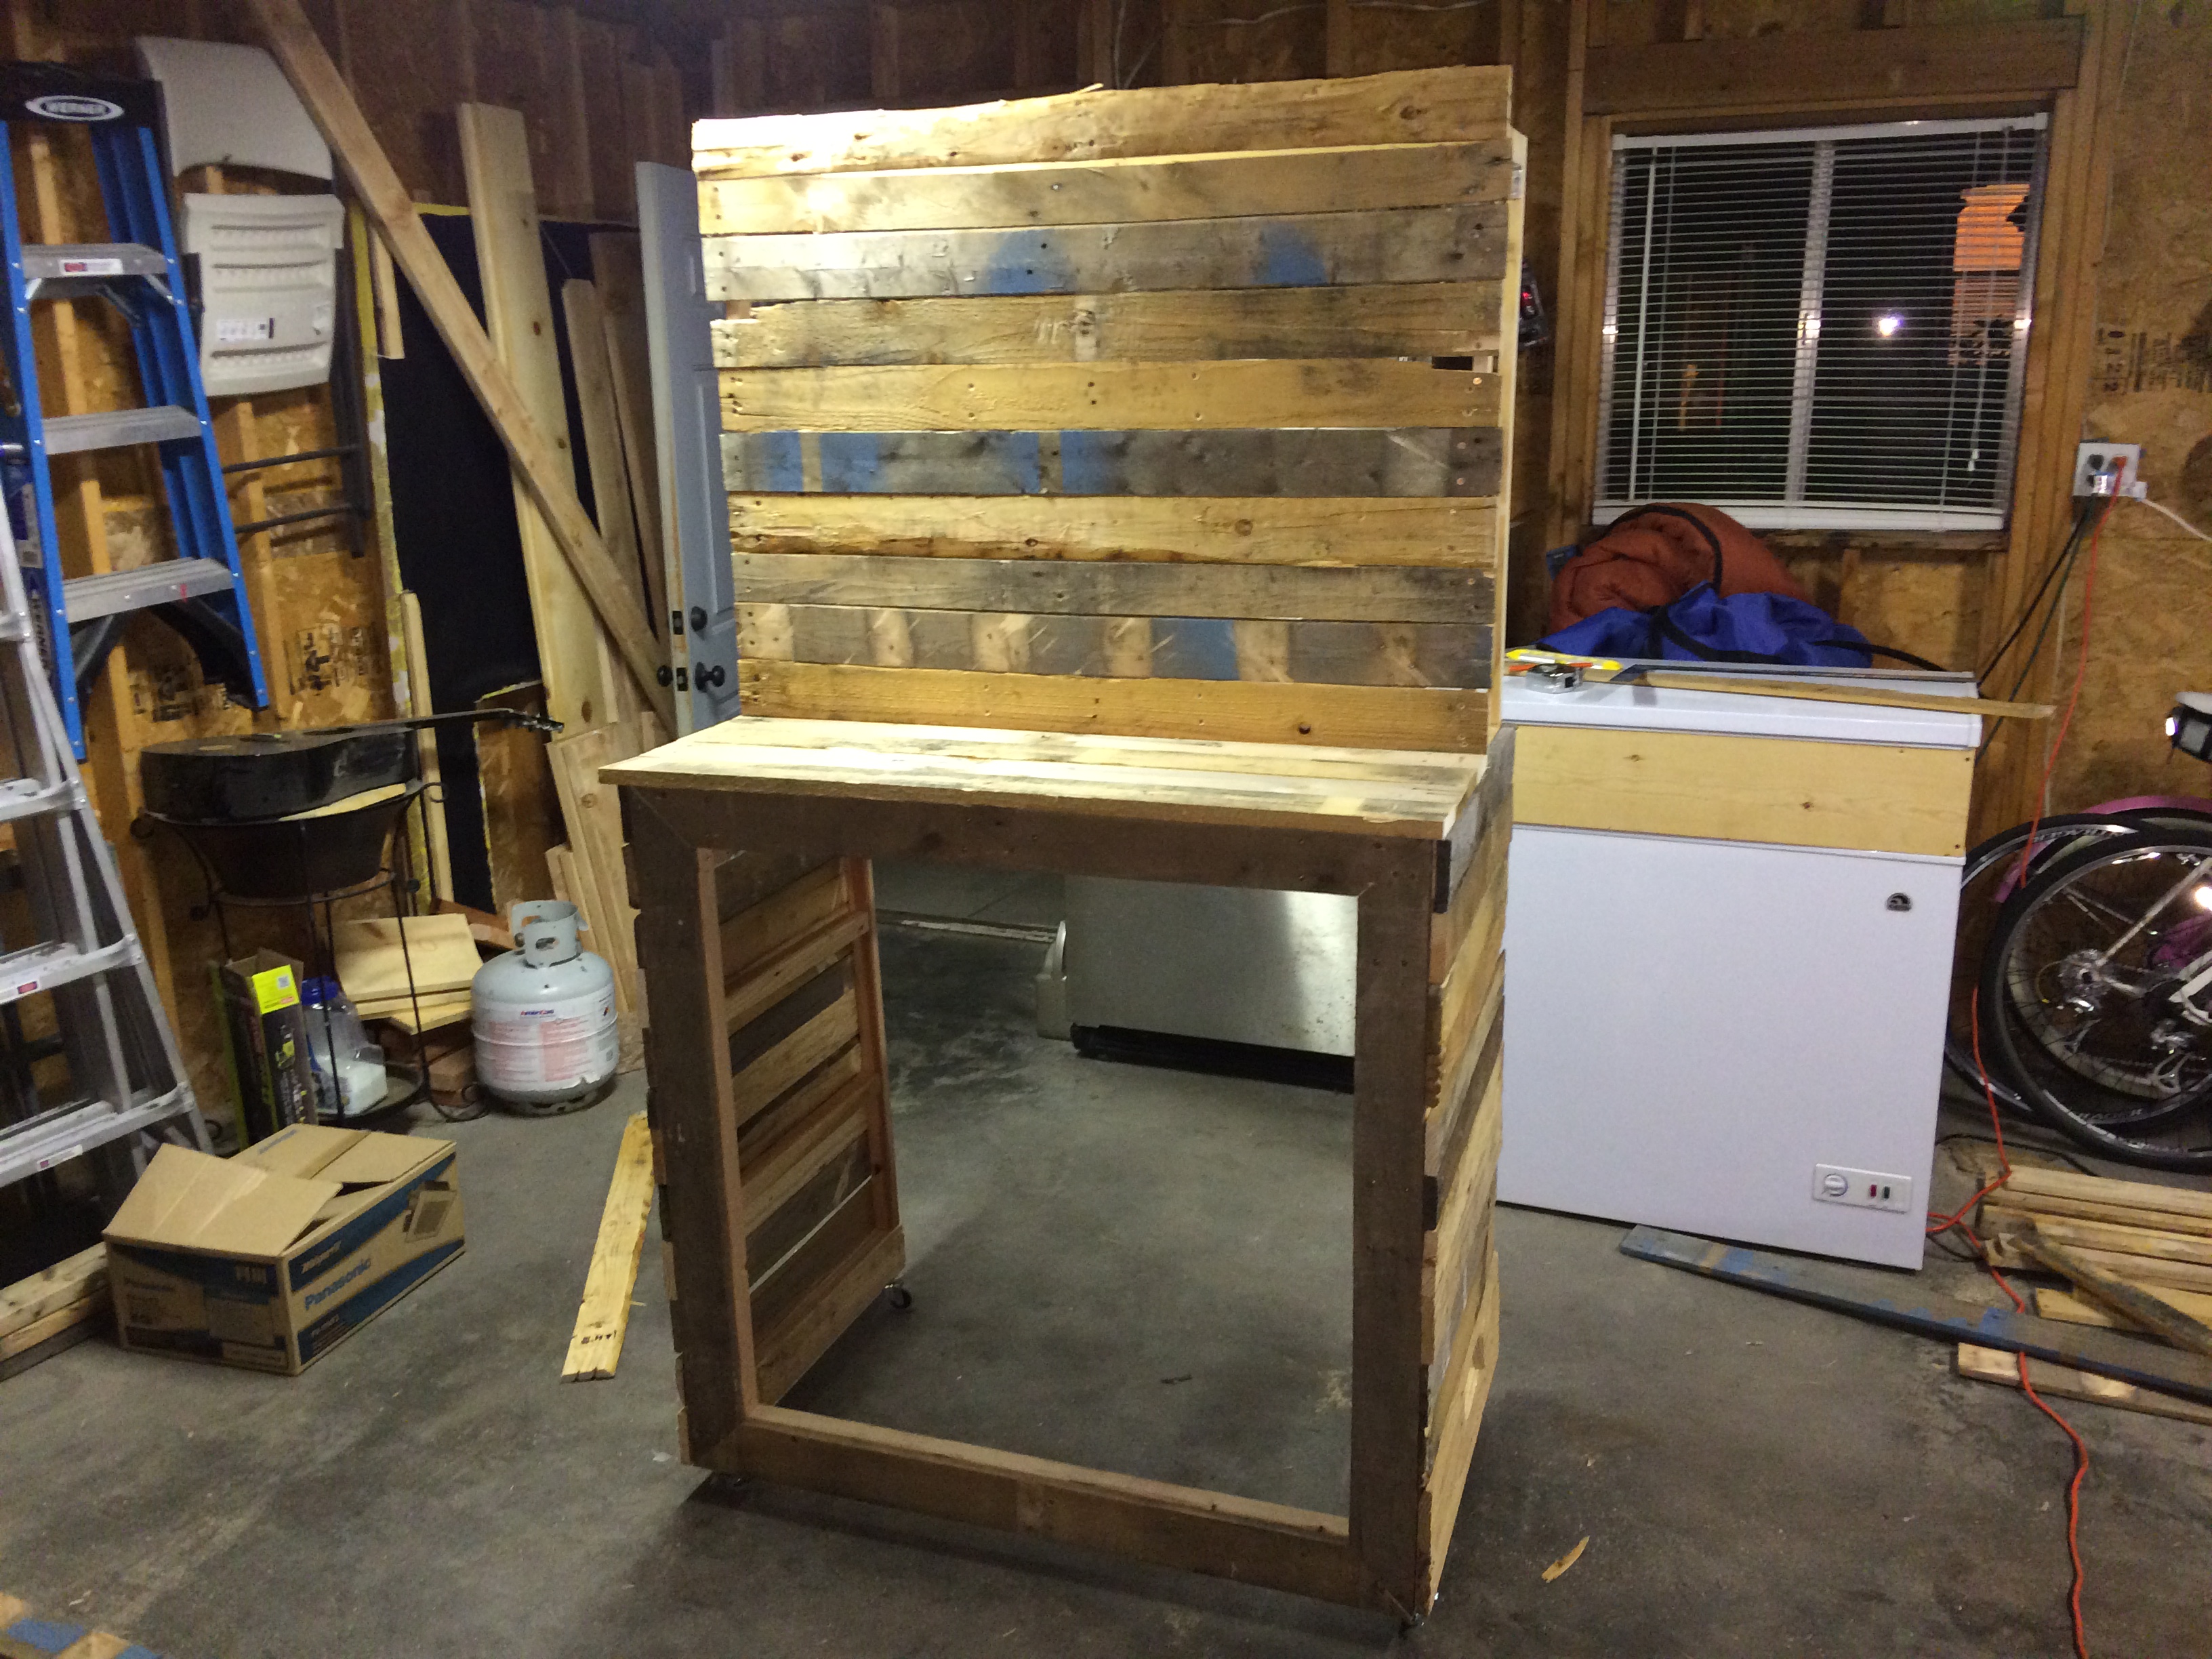
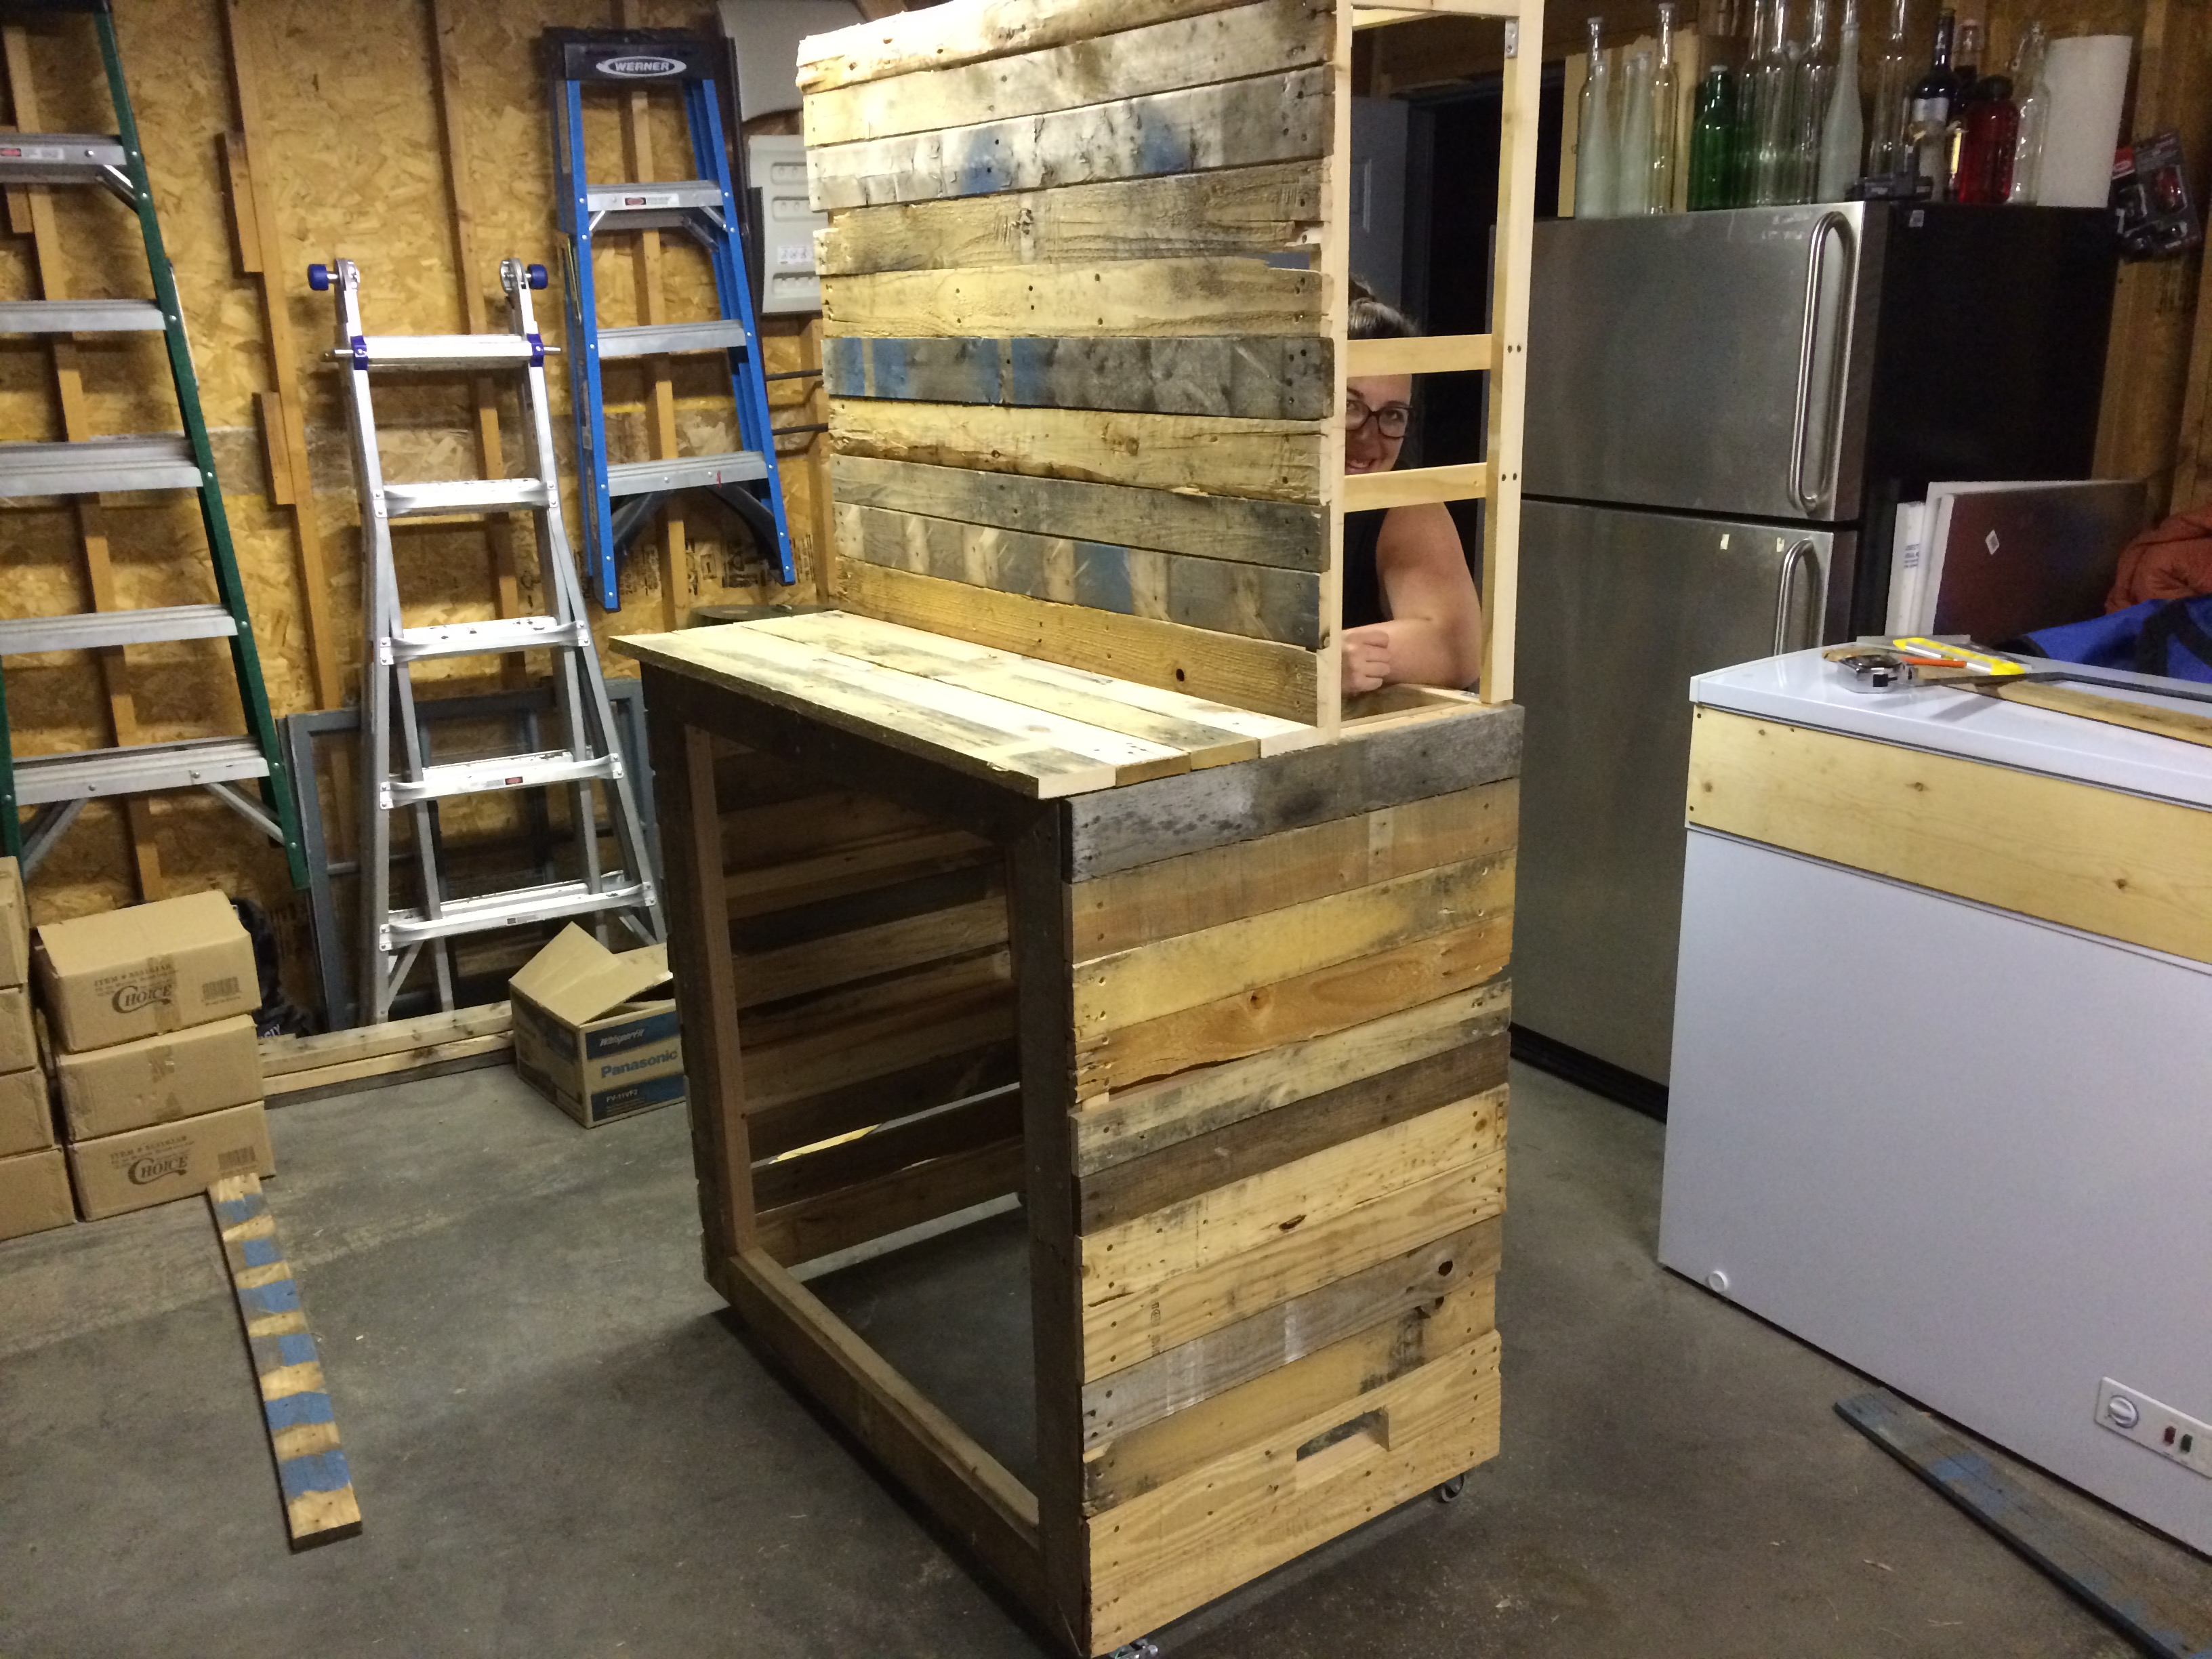
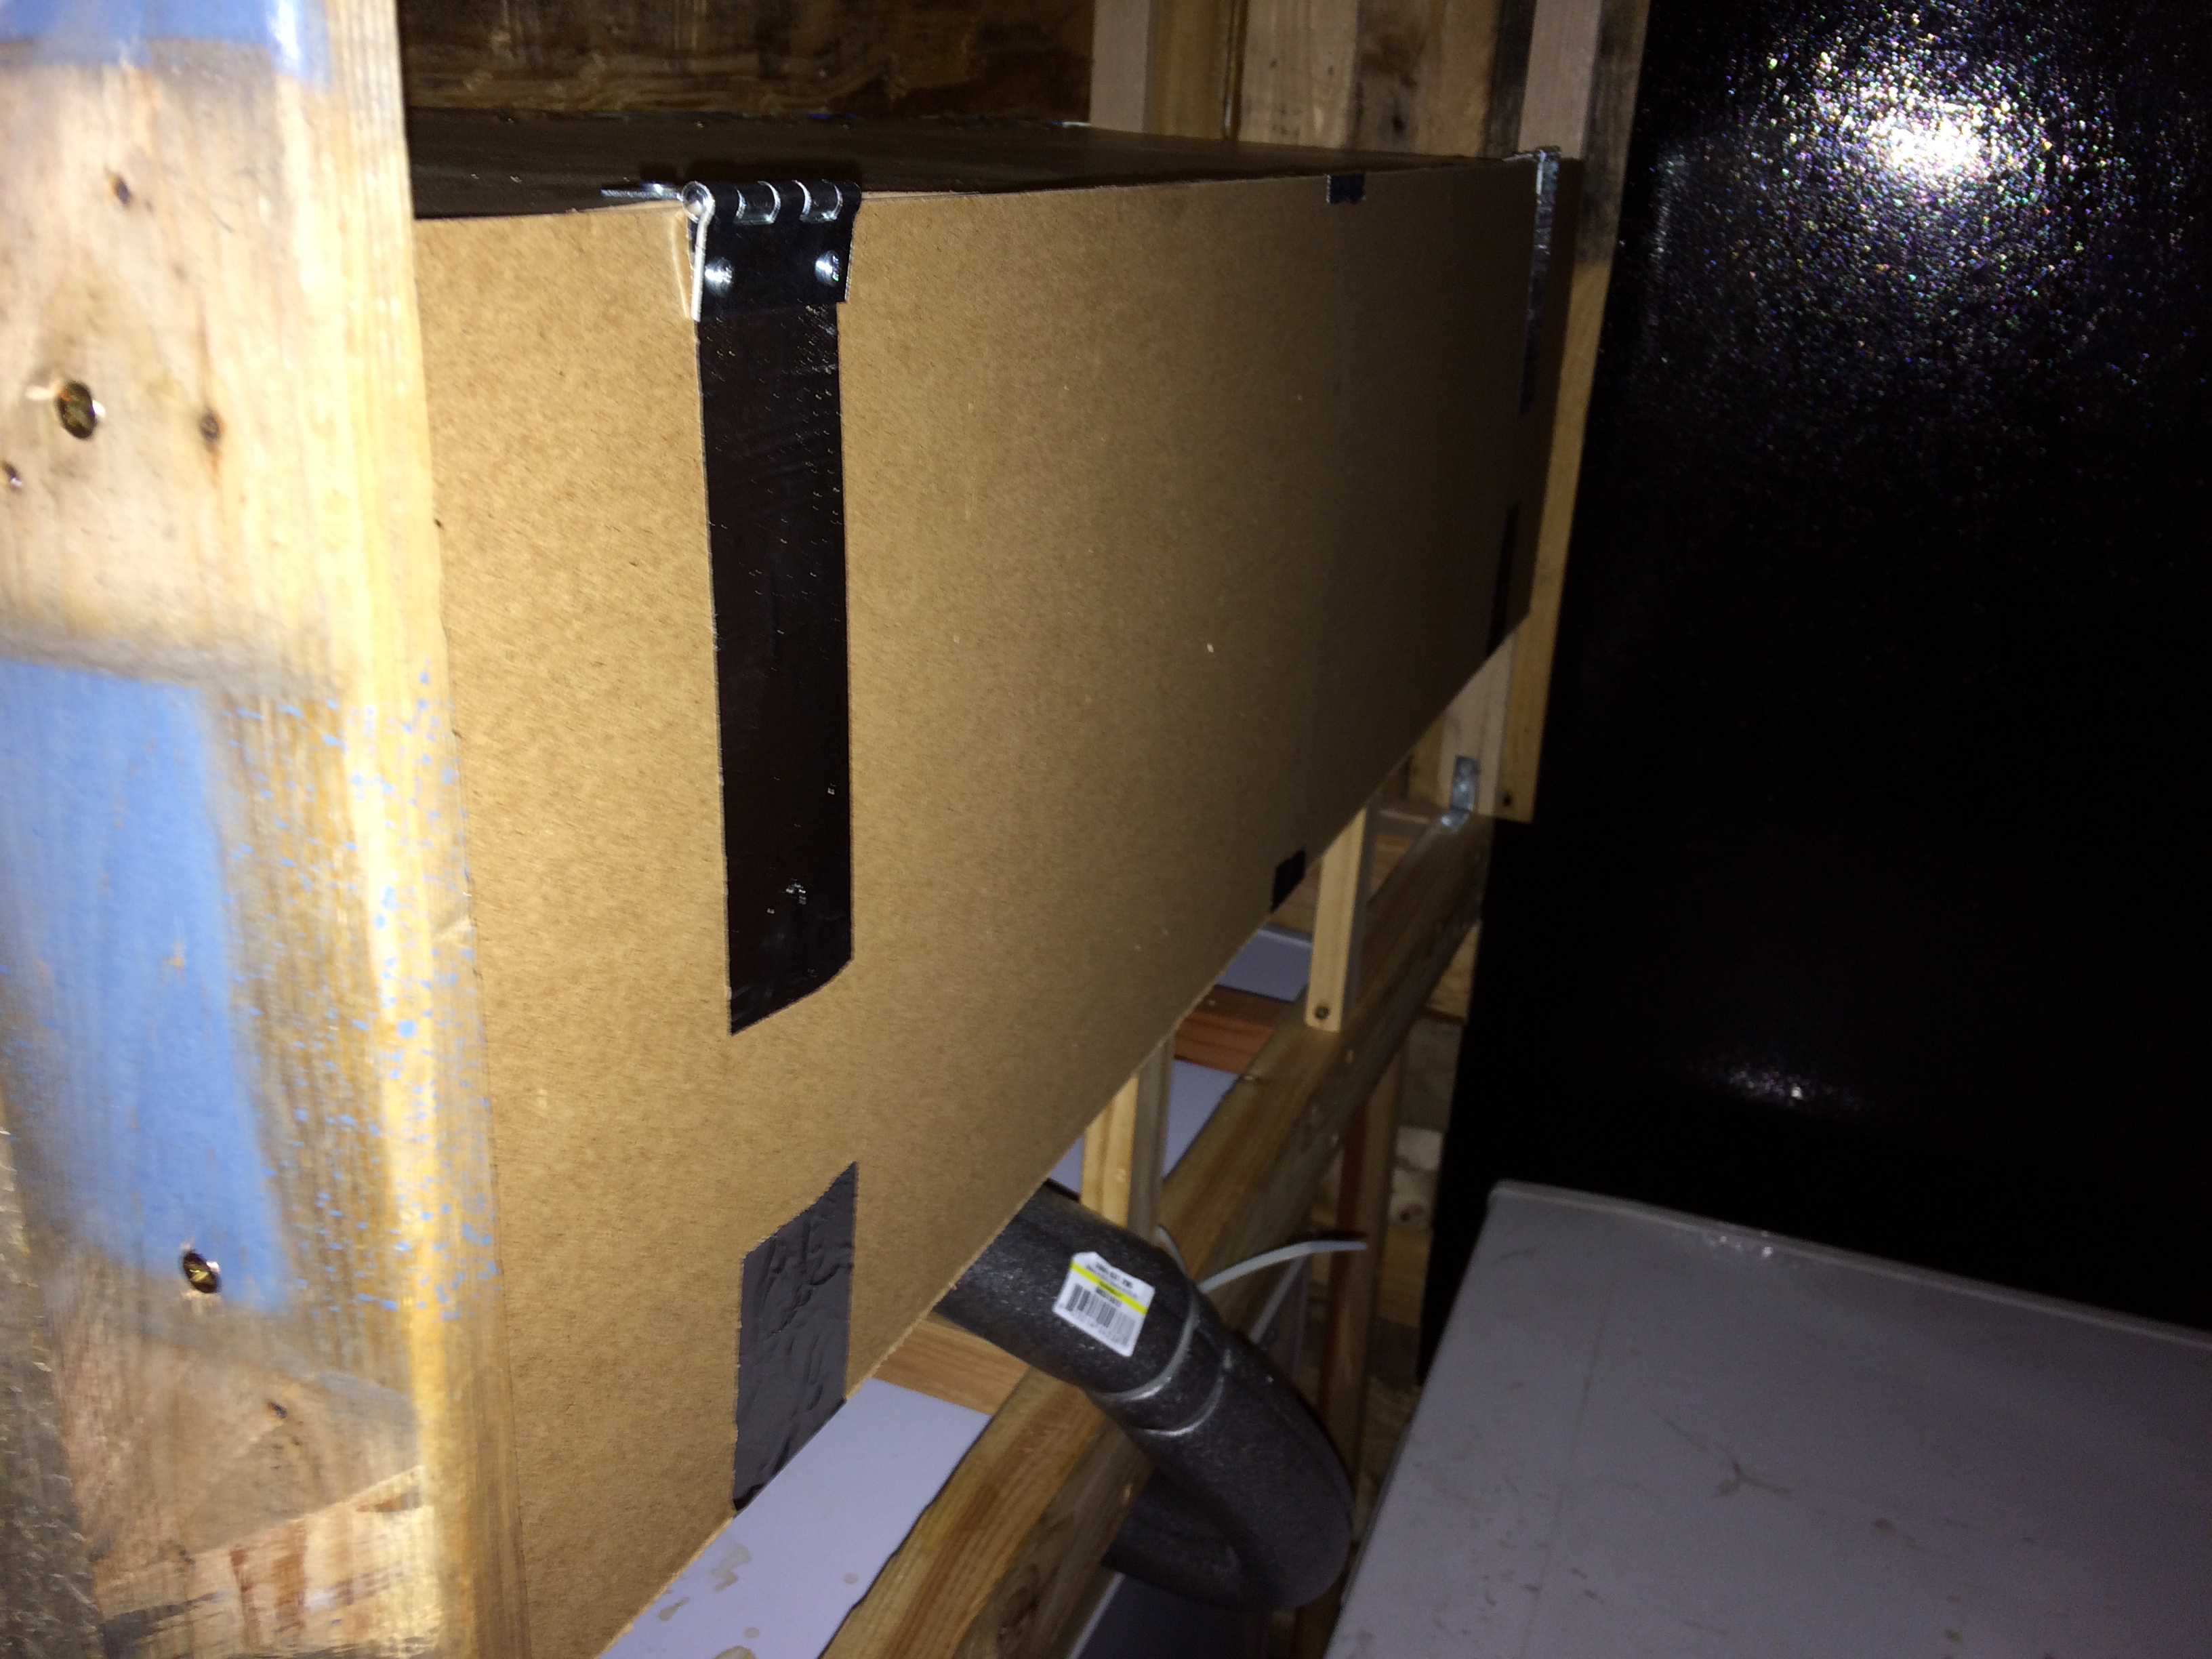
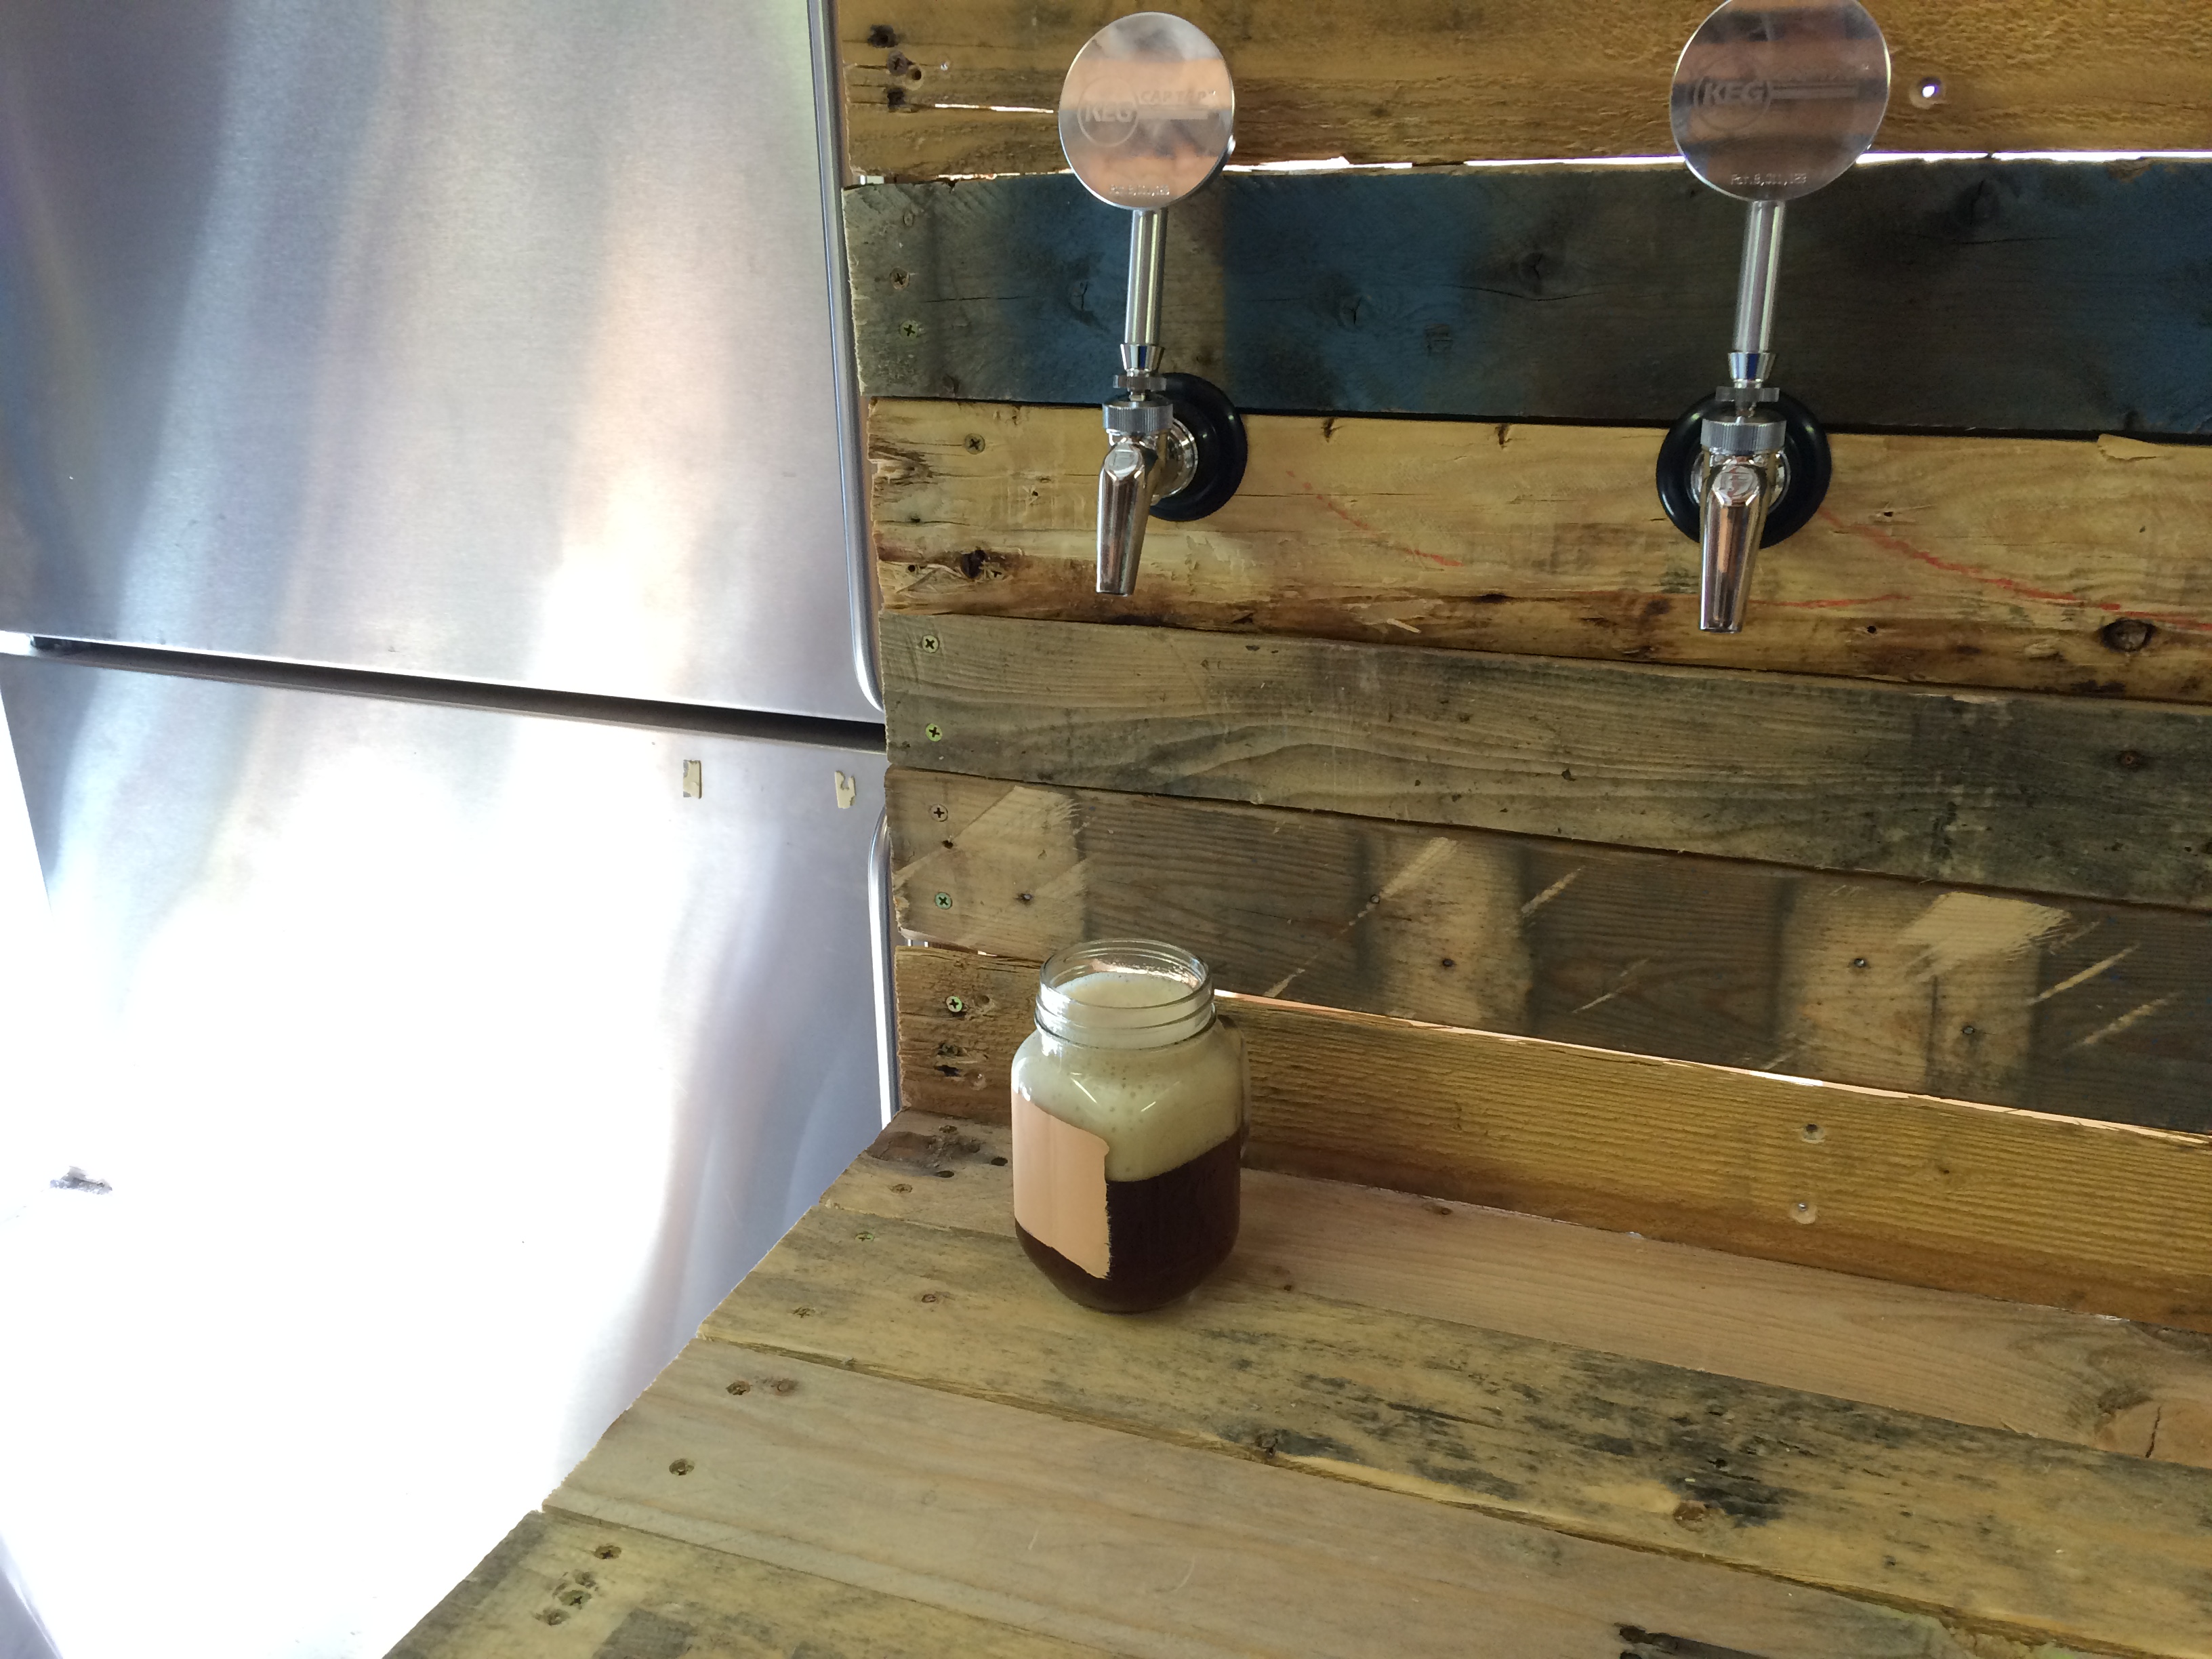
Once the slats were covering the frame we built a wall to mount the taps. We put in an insulated box for the taps so that the lines would stay cooler to reduce foaming.
 |
 |
 |
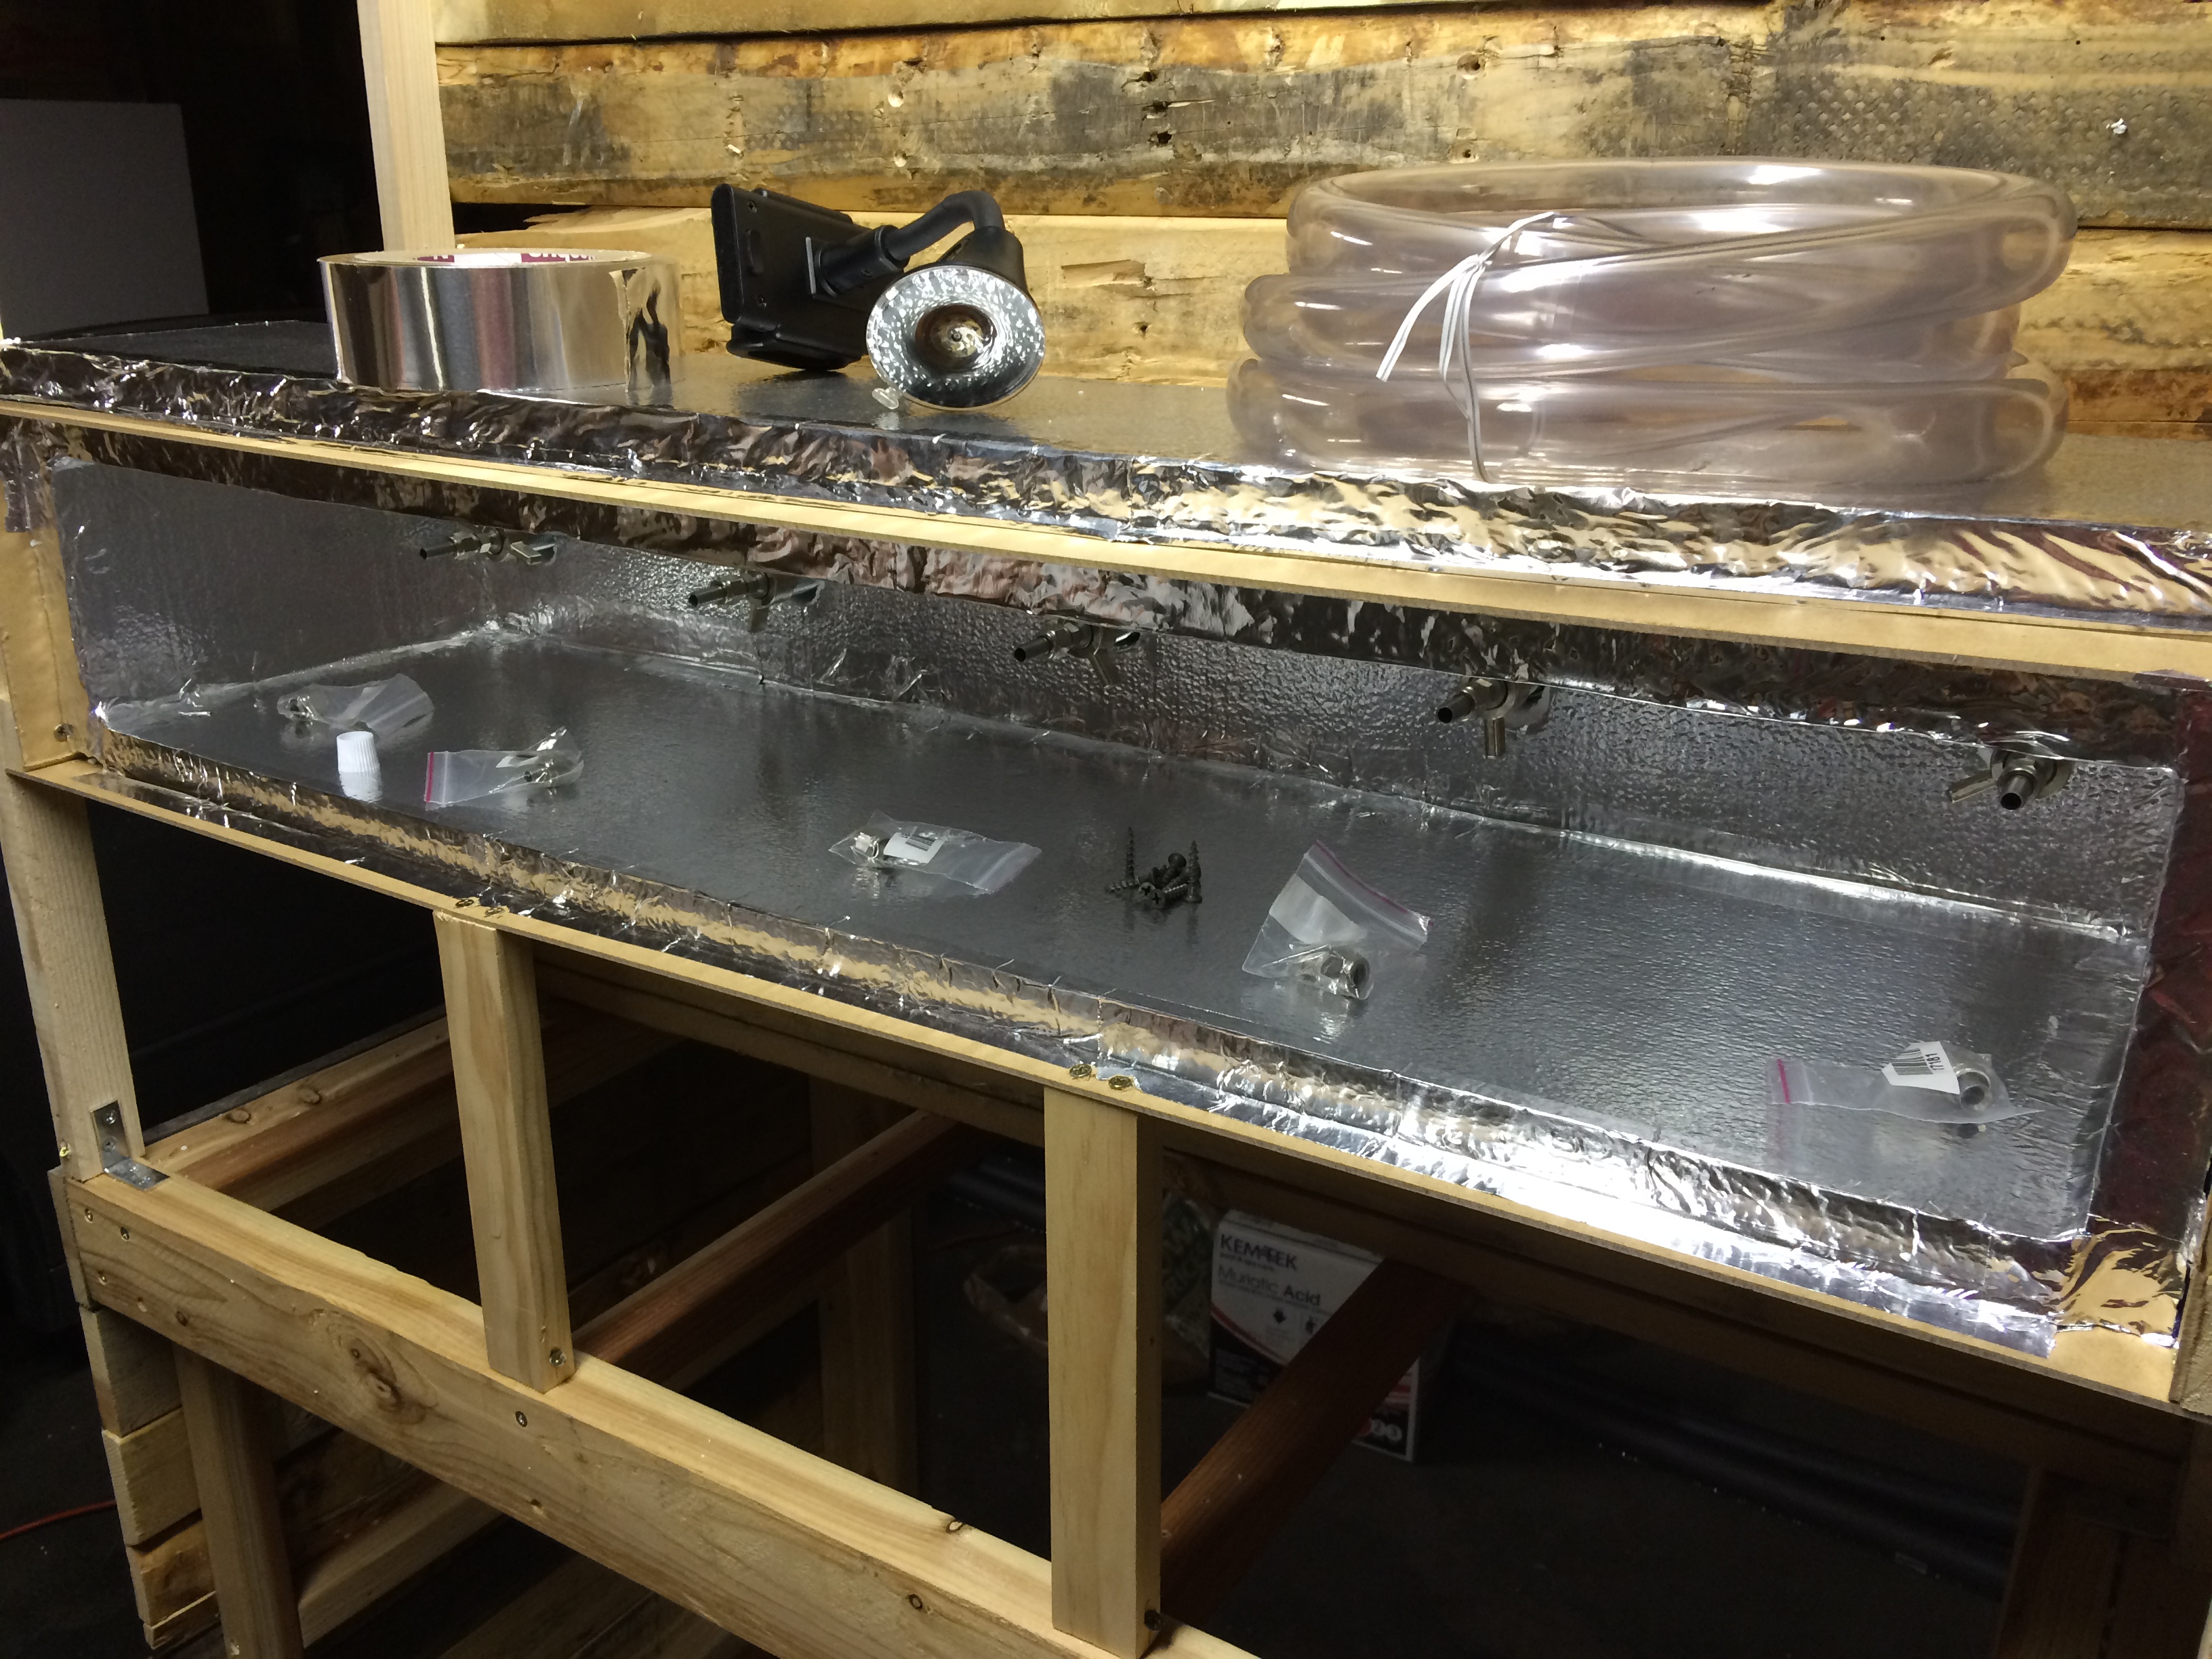
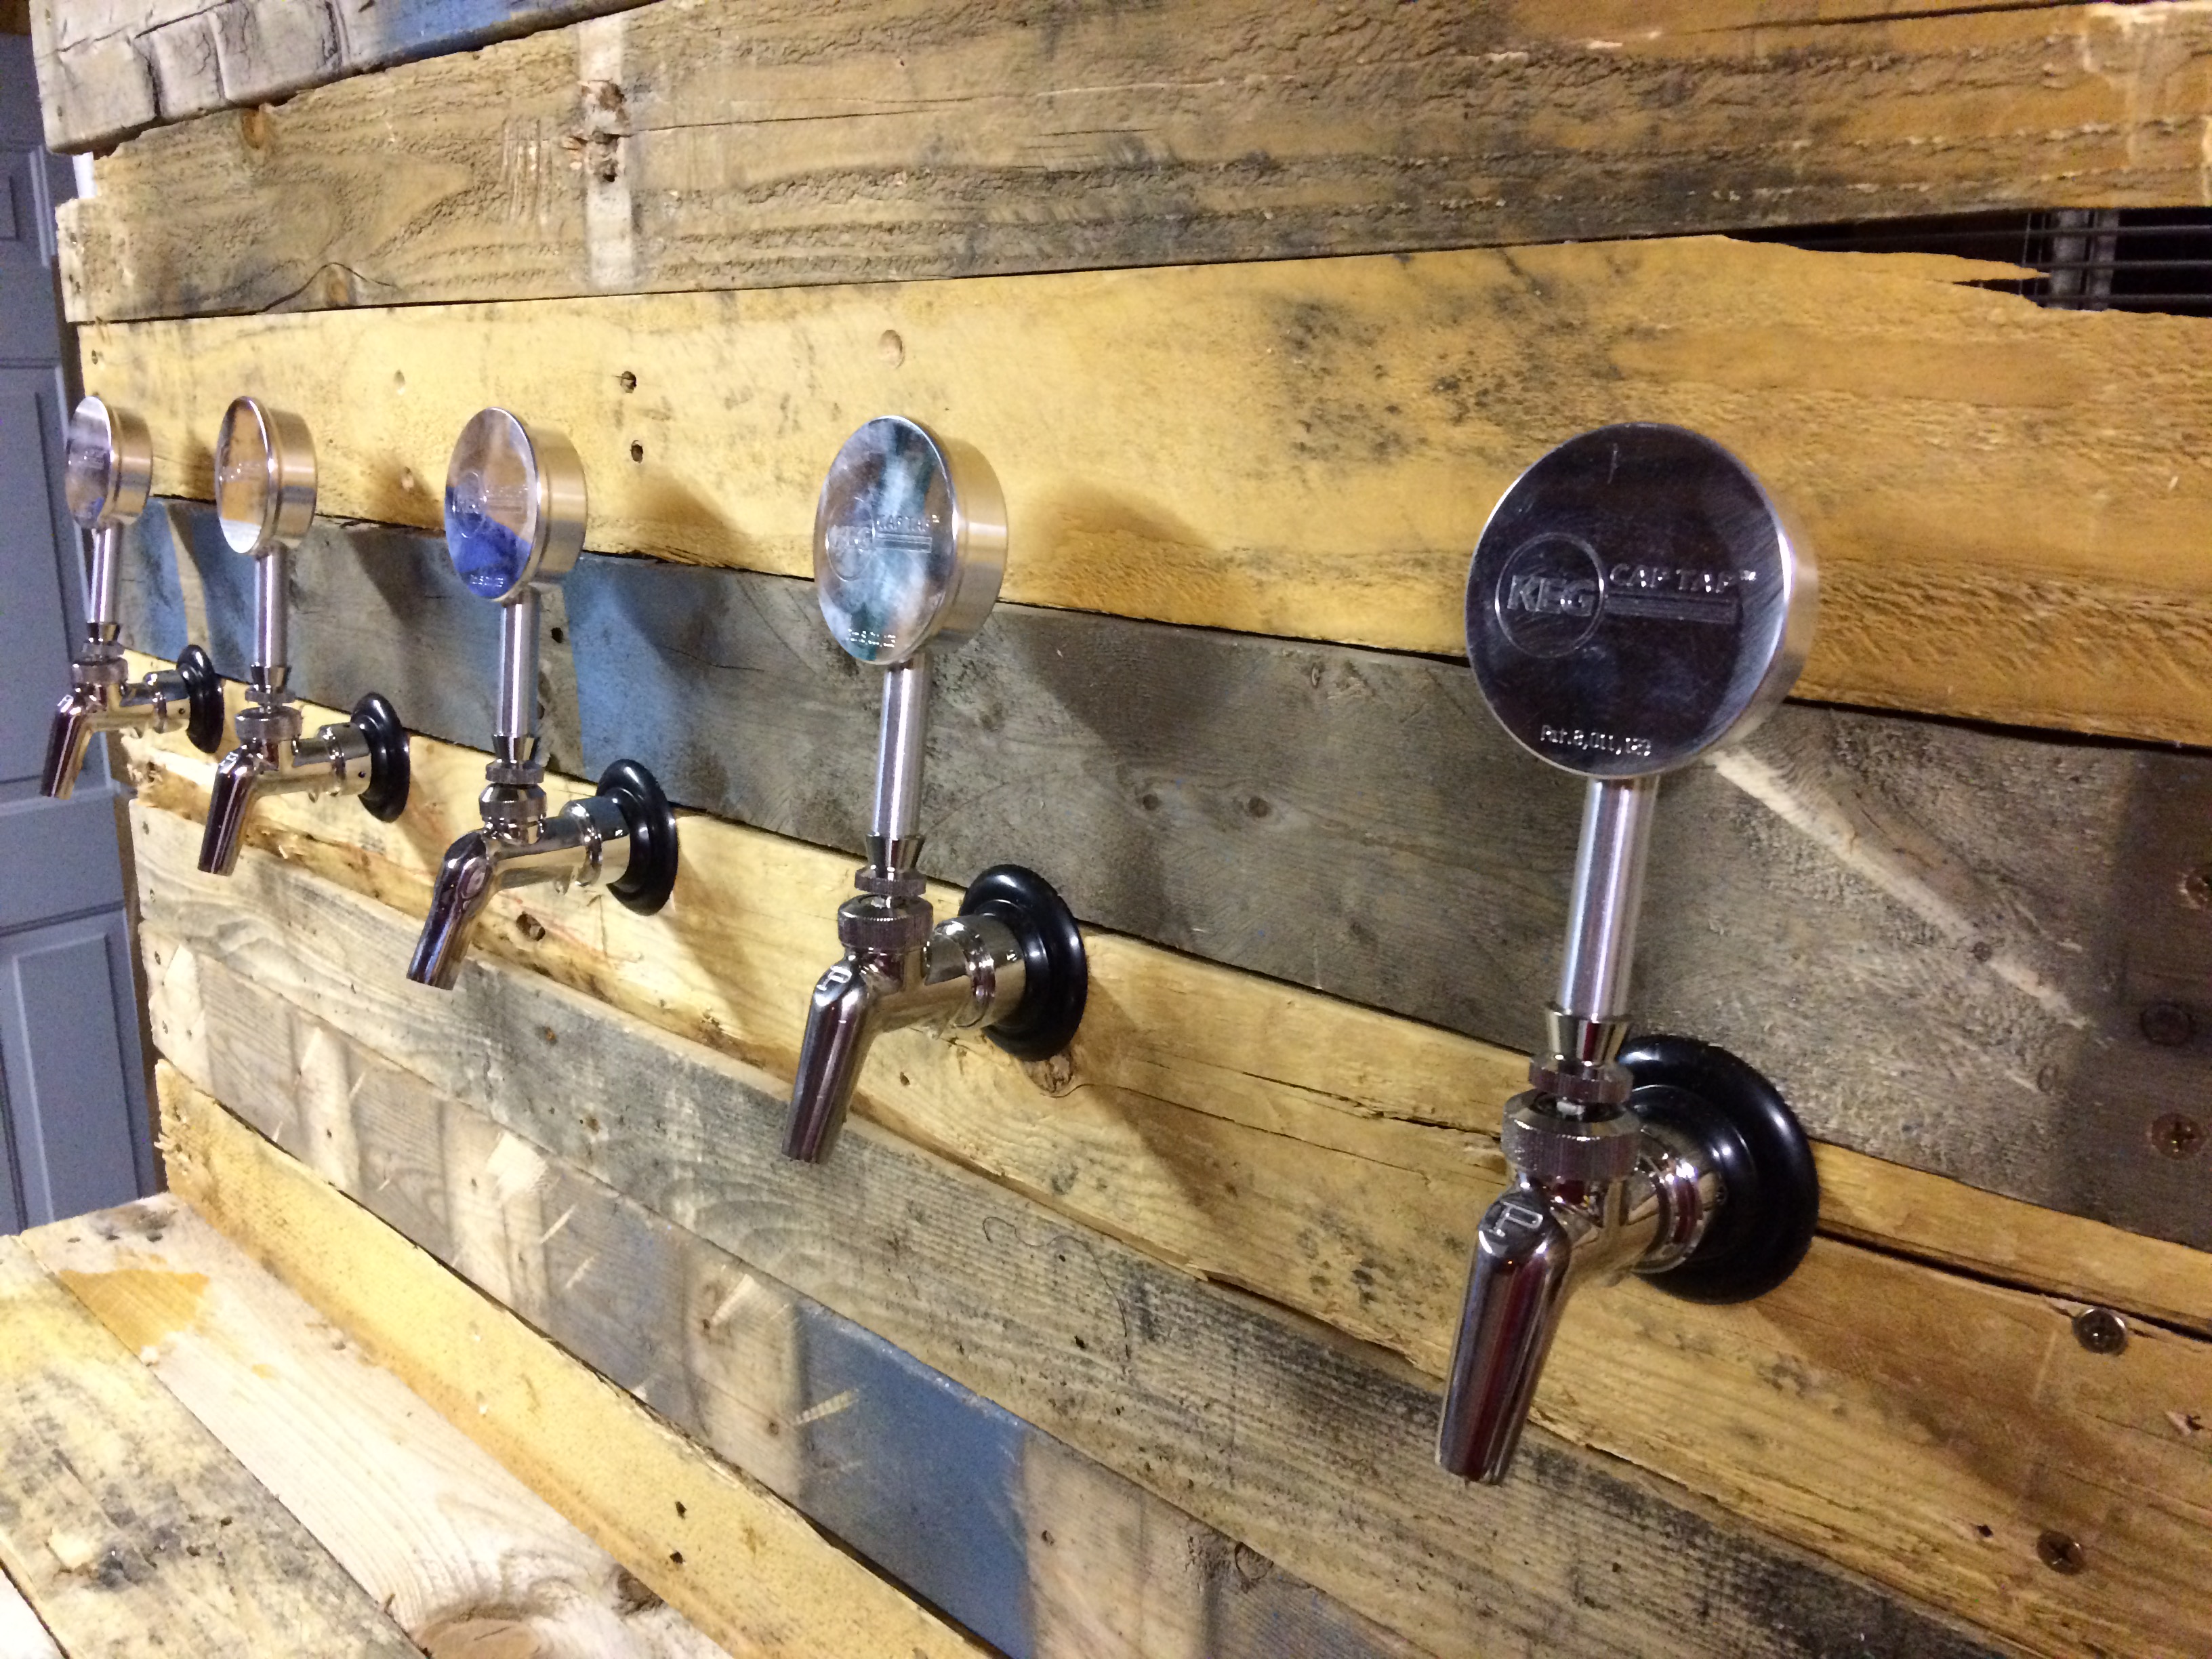
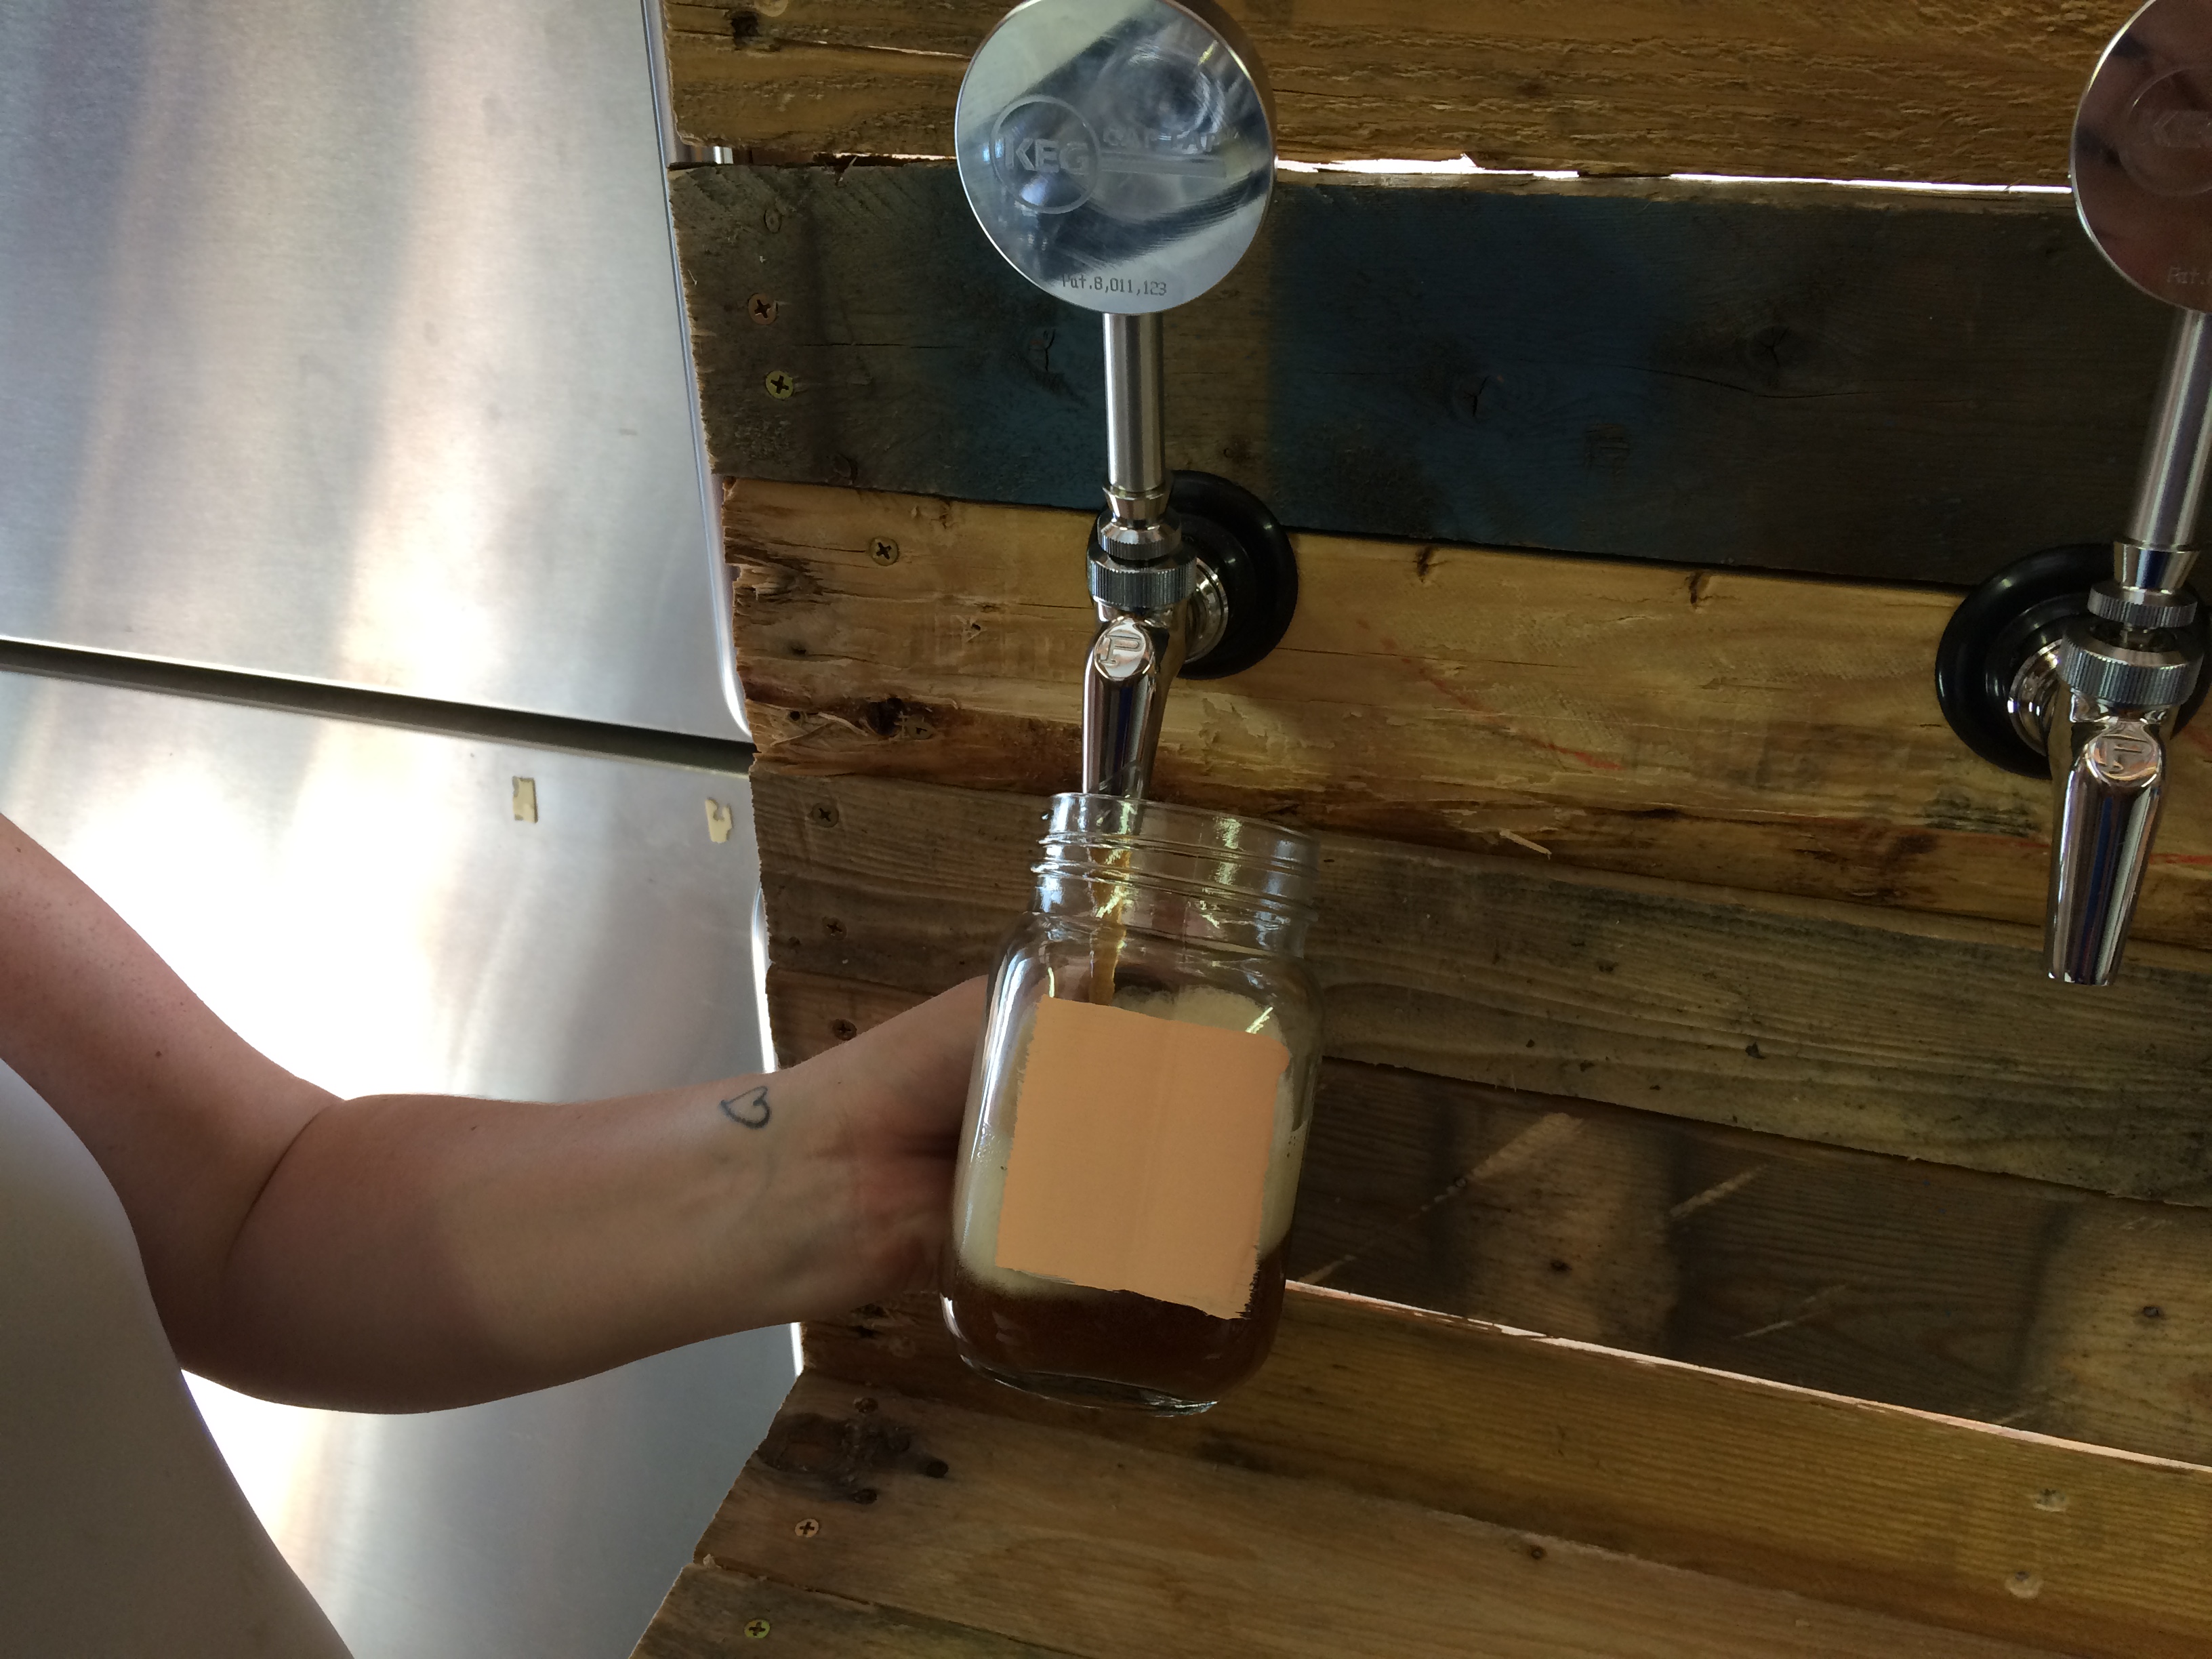
Once the wall and insulated box was built we went to work putting the taps in place. The taps are all Perlic front sealing taps (wanted the best possible for this project) and the tap handles were from our good friend over at KegCapTap. These tap handles are AMAZING!
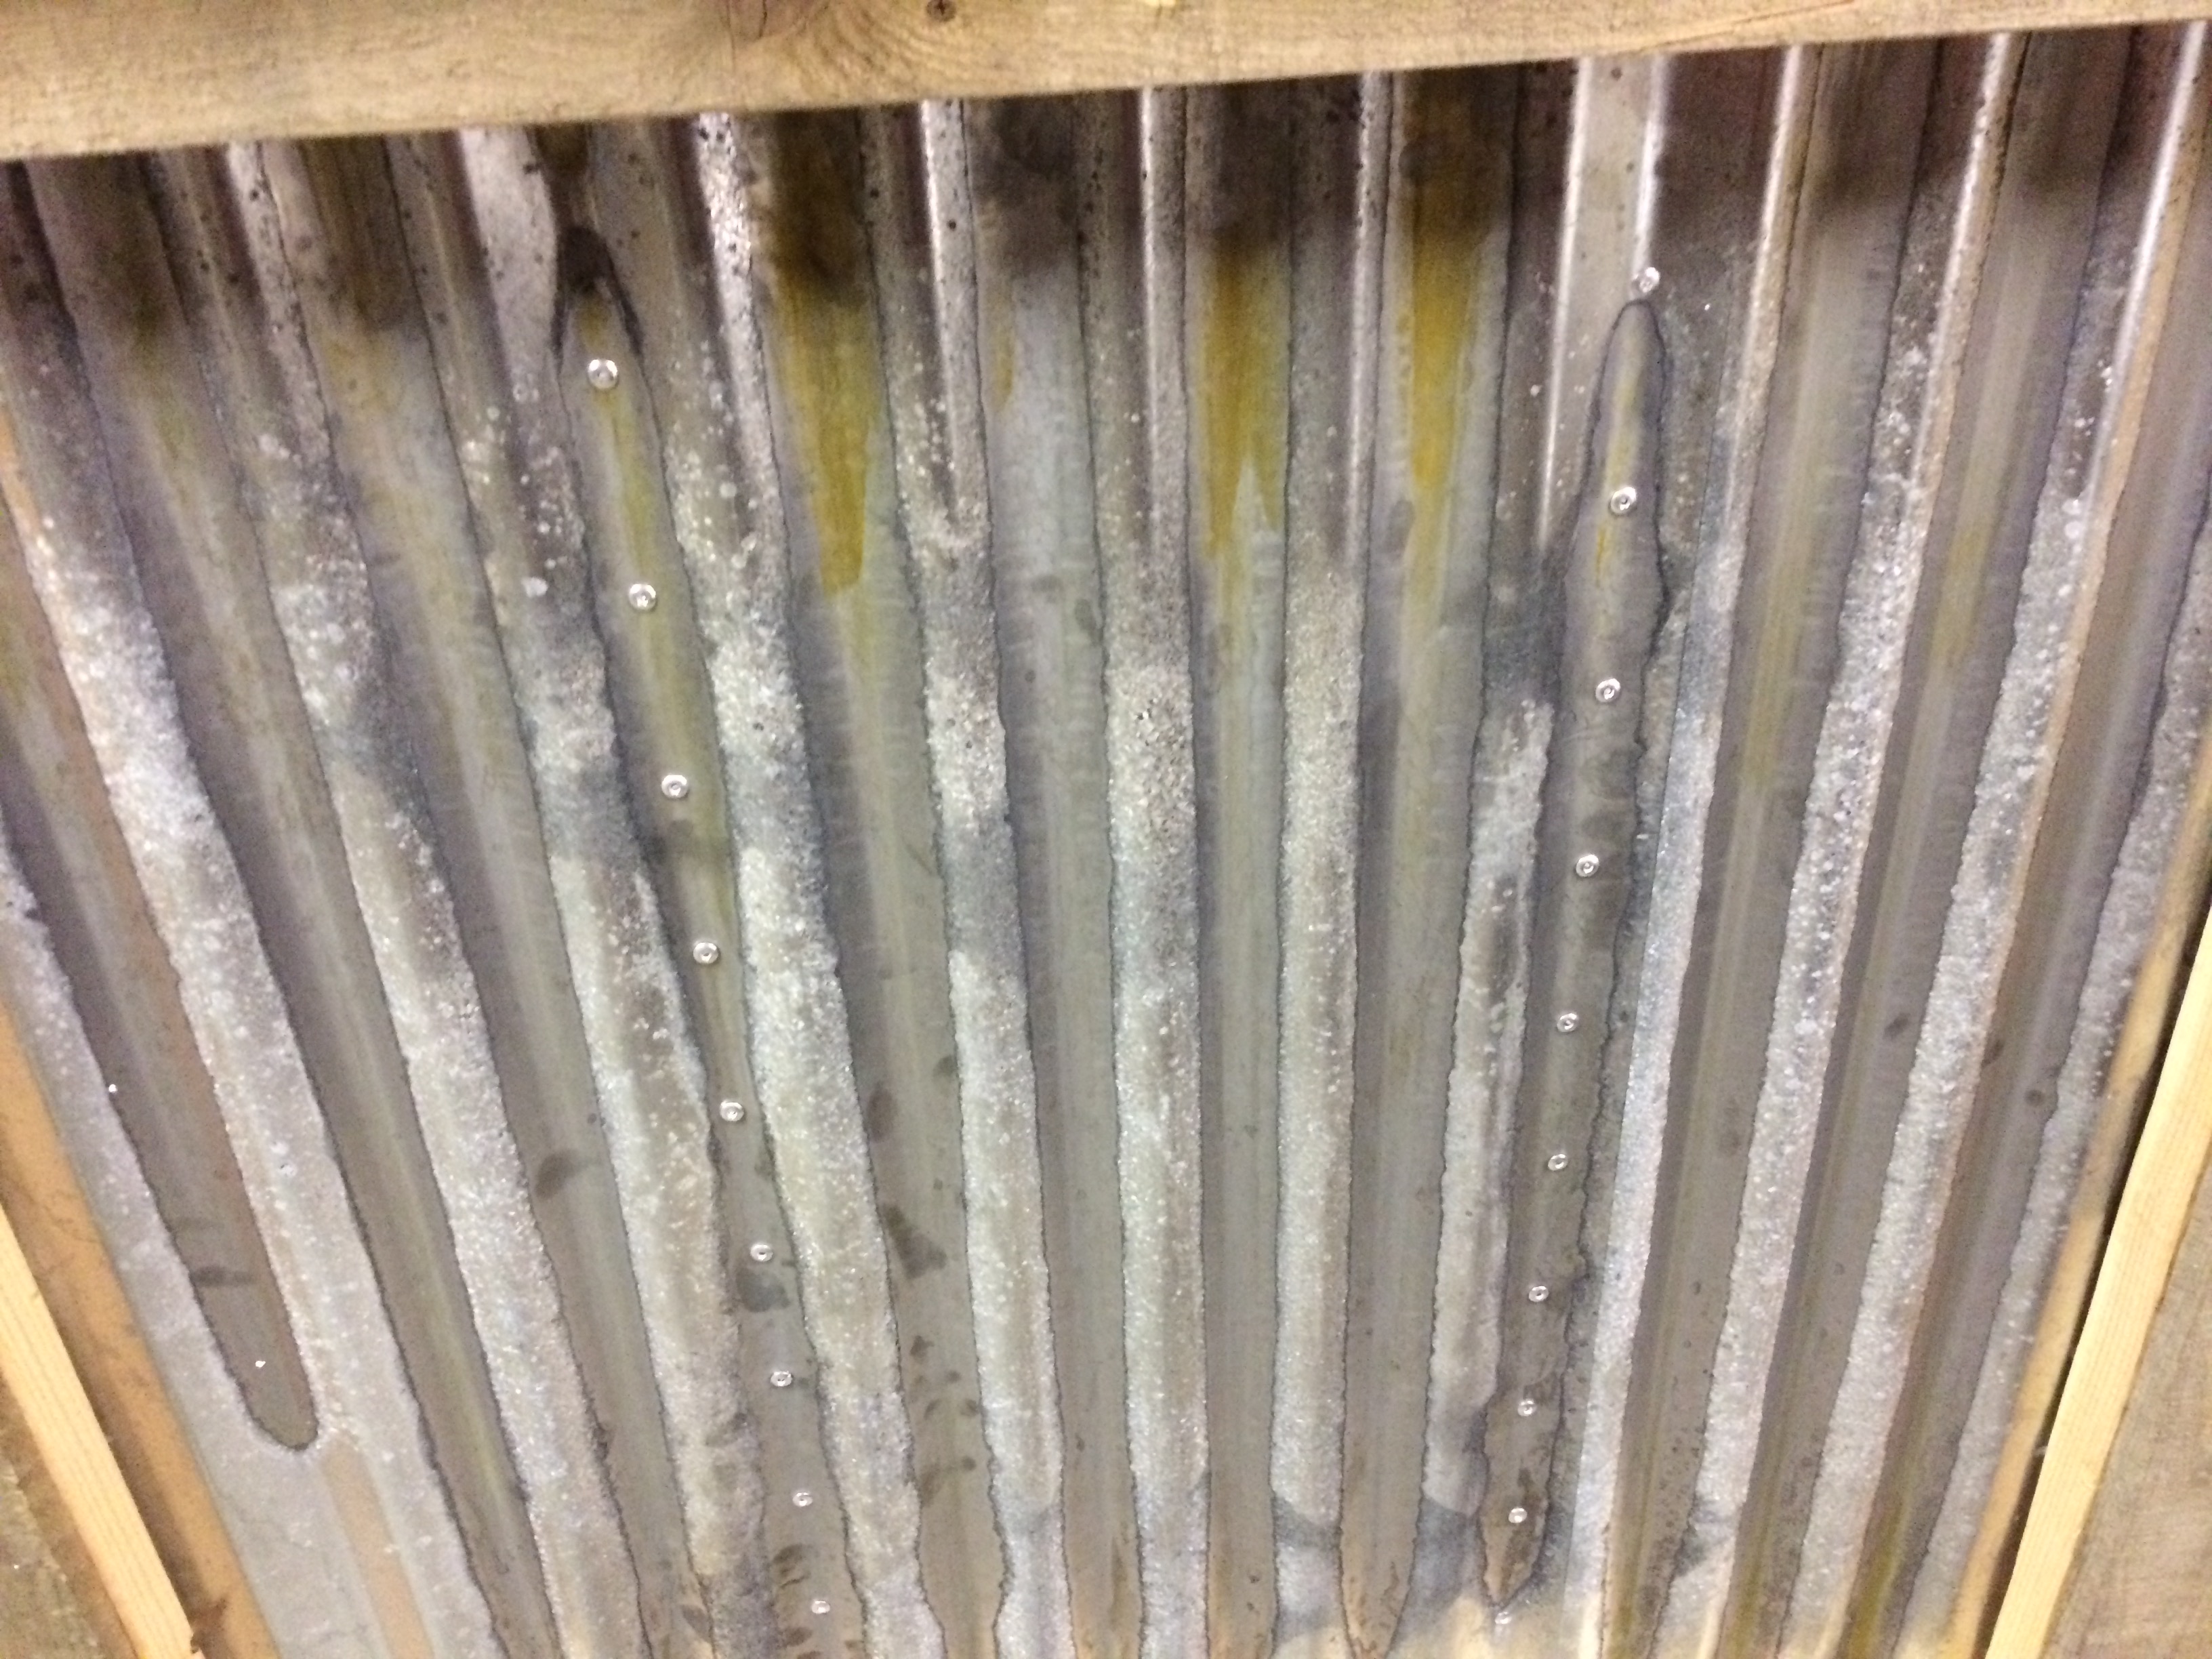
Once we had the taps in place we got some corrugated steel from Home Depot and dumped some muriatic acid on it to distress it and give some dimension. This steel got installed in the front of the frame to round out the overall look of the keezer.
 |
 |
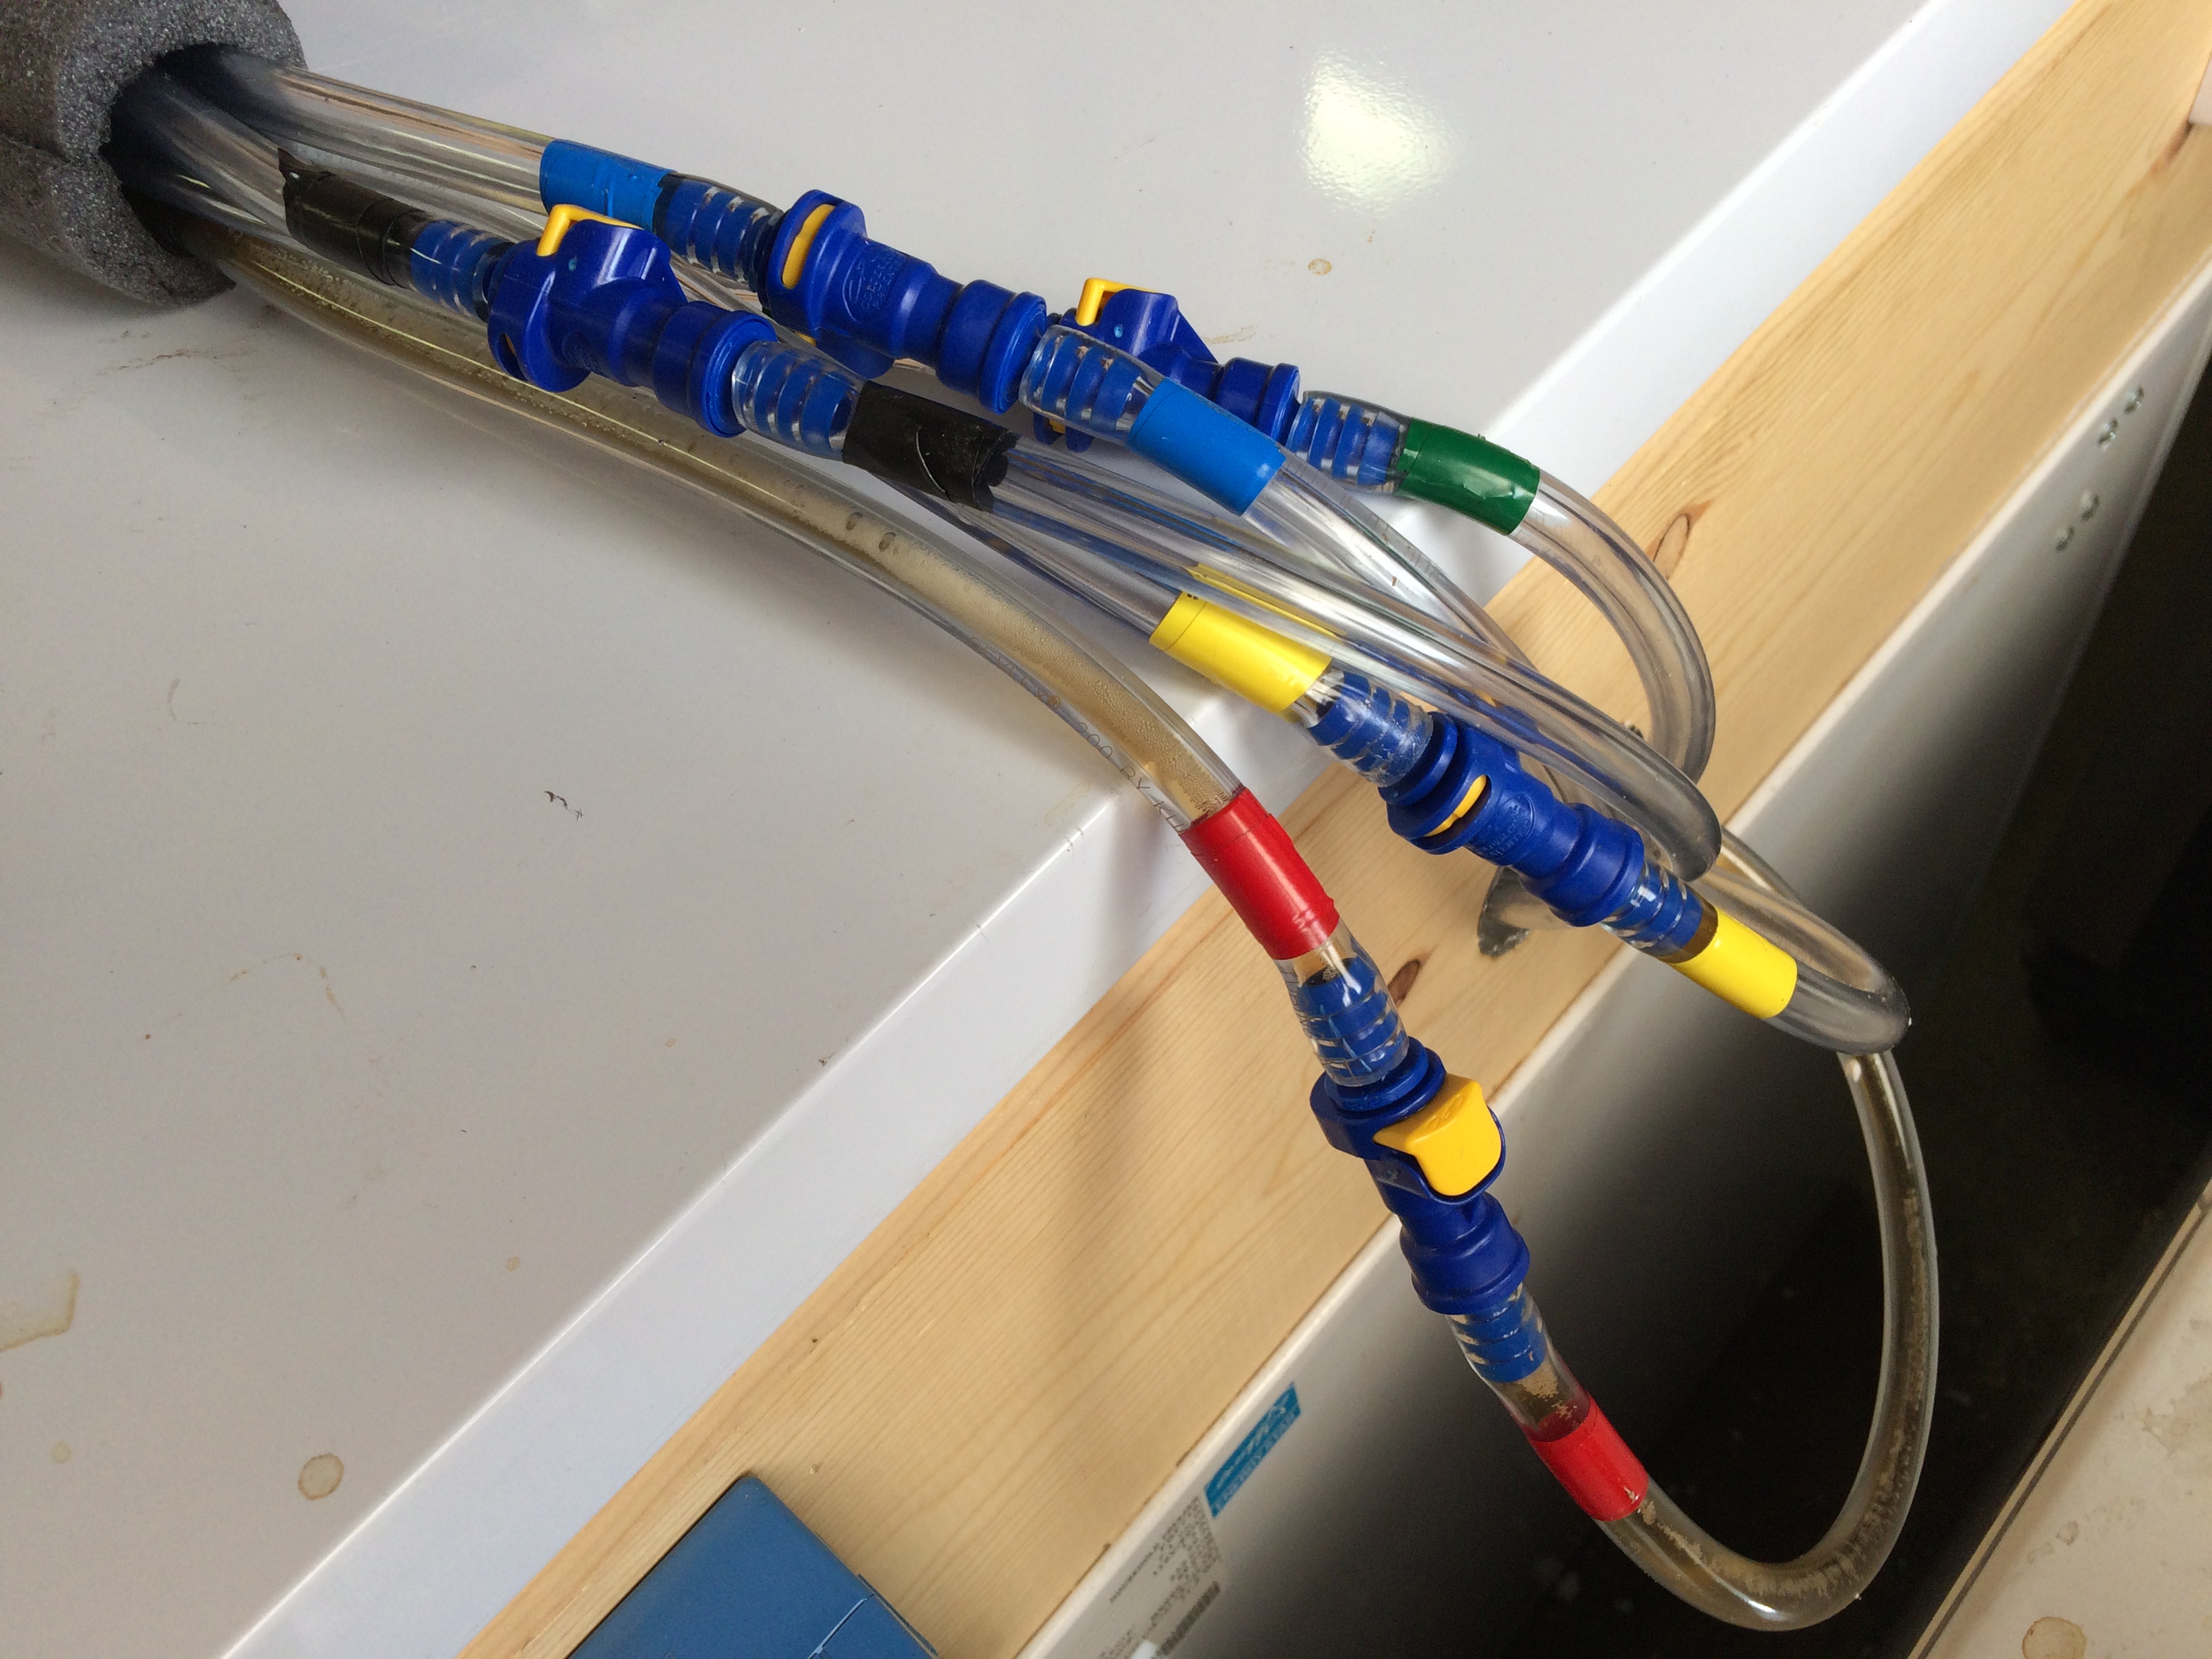
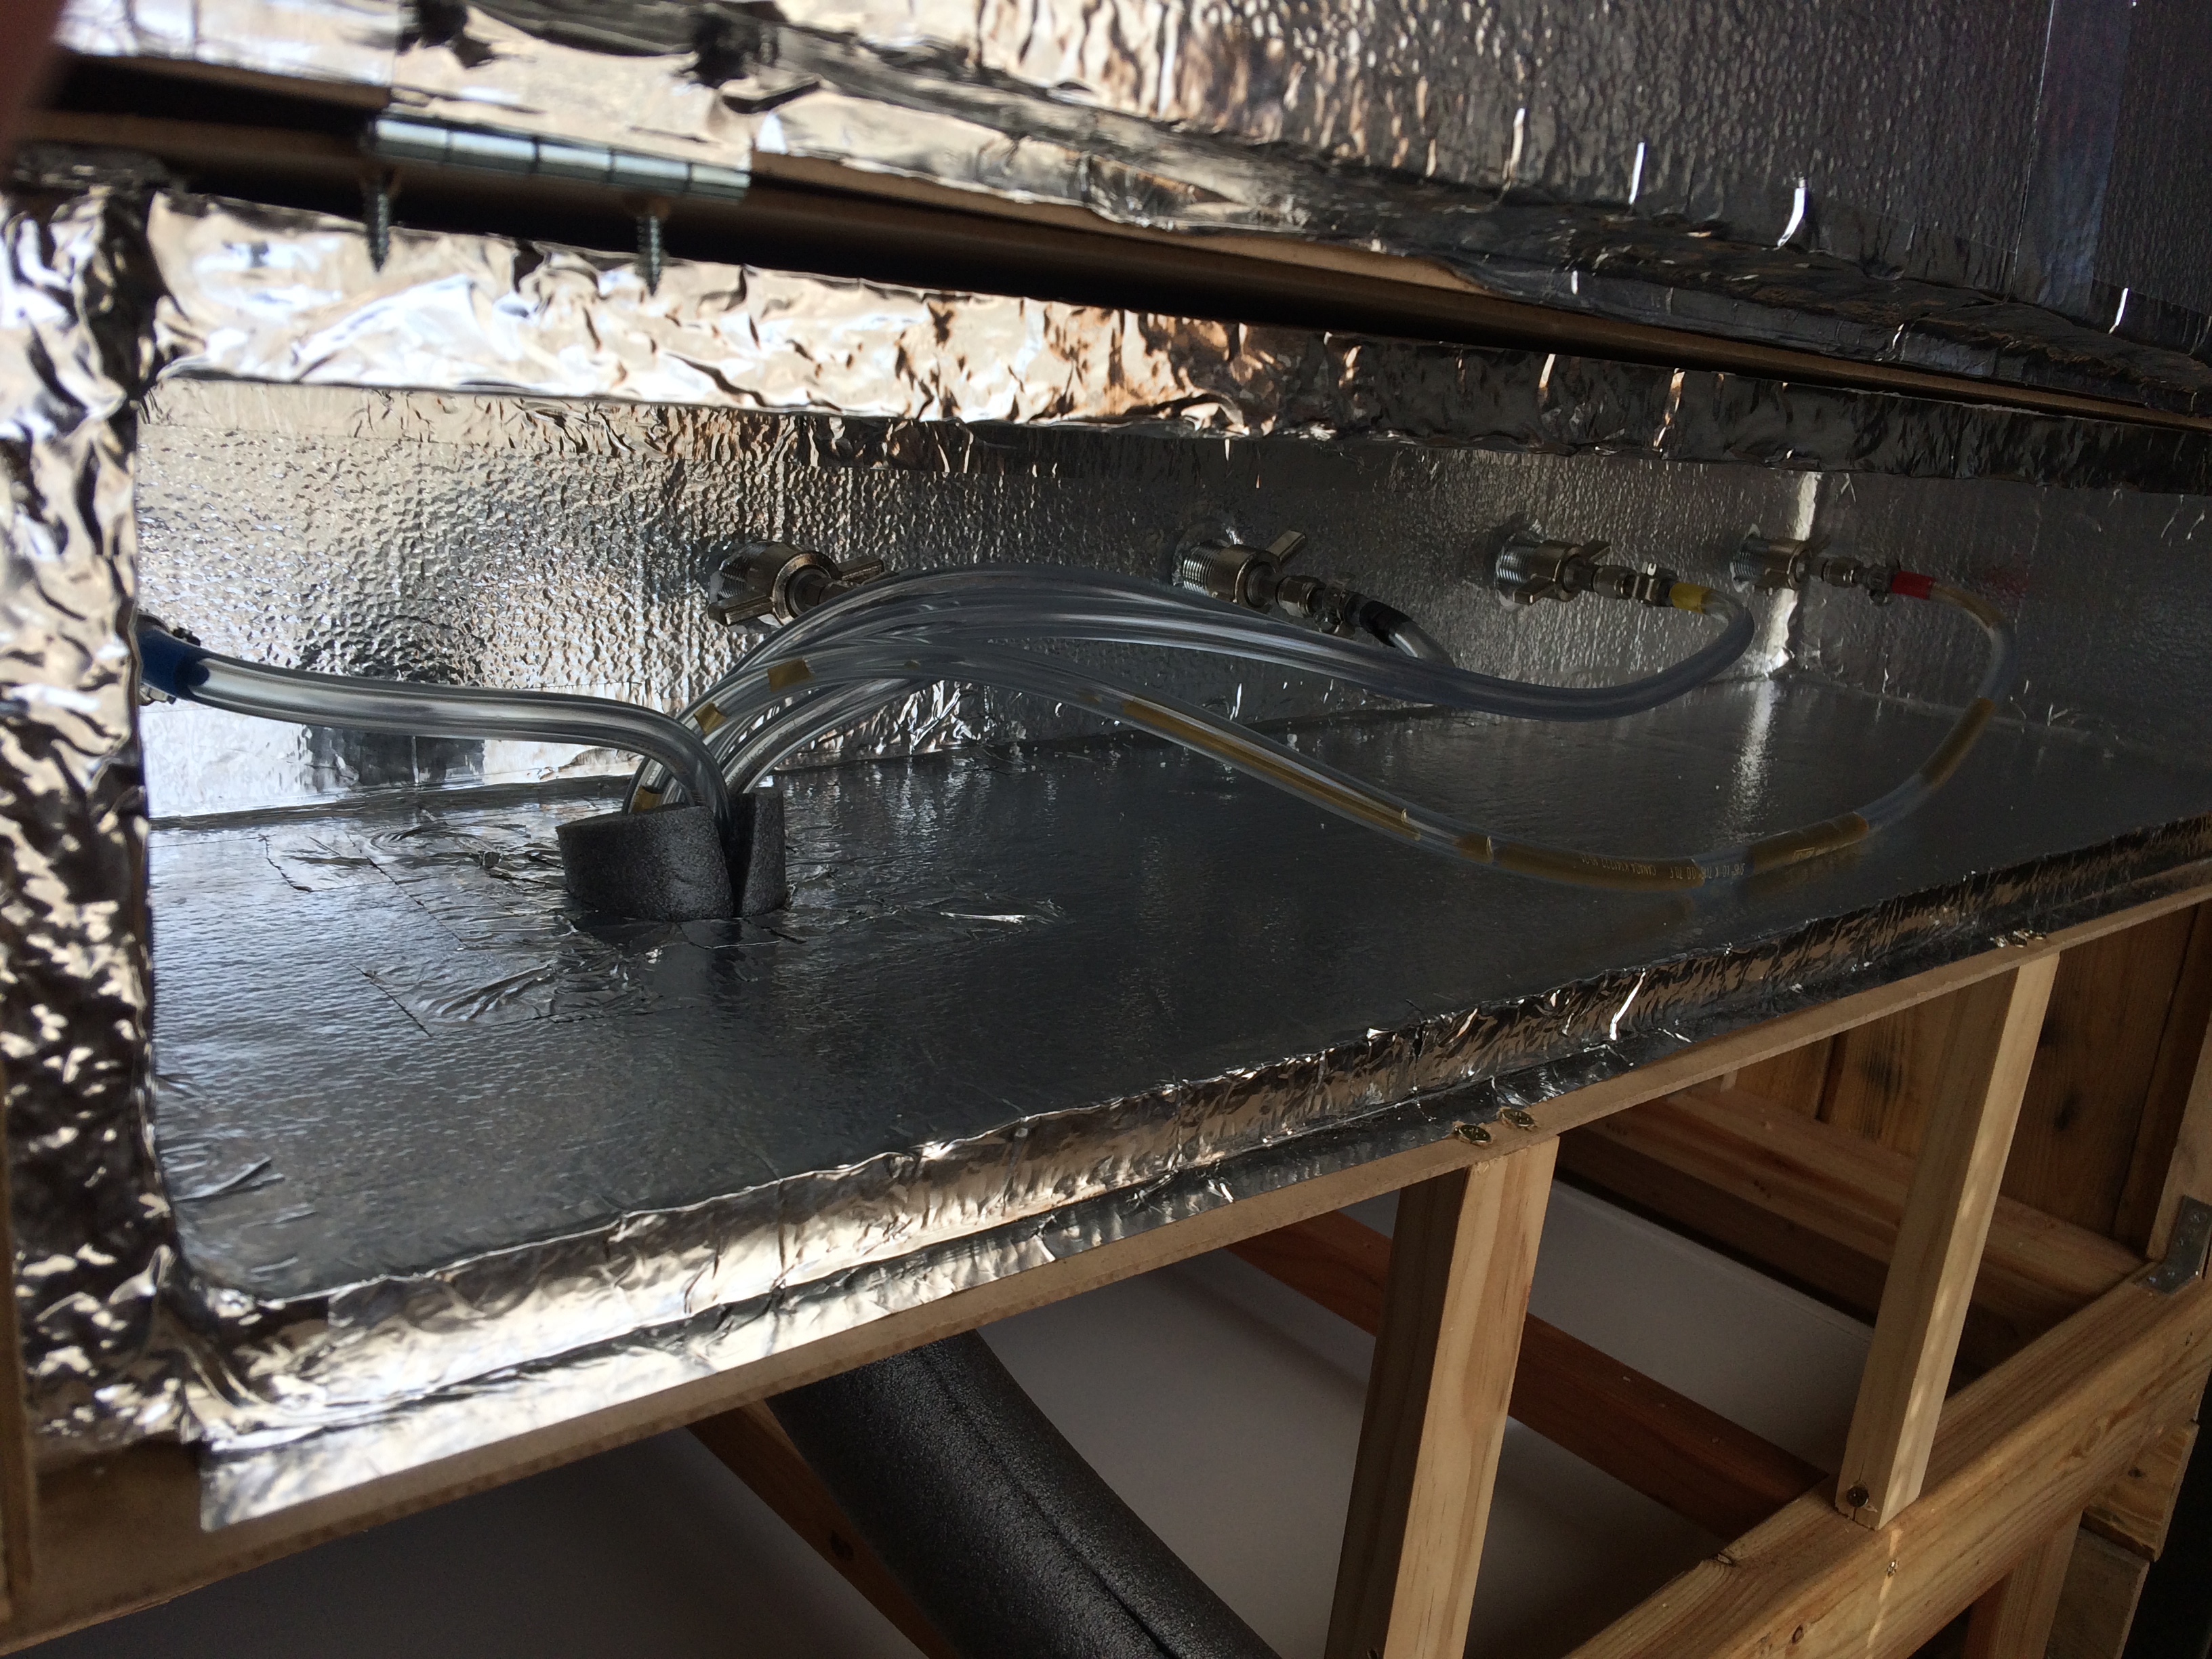
With the construction done, we went to work on the plumbing. Due to this being a casing for the freezer, and needing to pull it back, we had to put quick disconnects at the collar of the freezer in order to disconnect the insulated lines running to the taps. We used Camelbak quick disconnects, which worked perfectly.
 |
 |
 |
 |
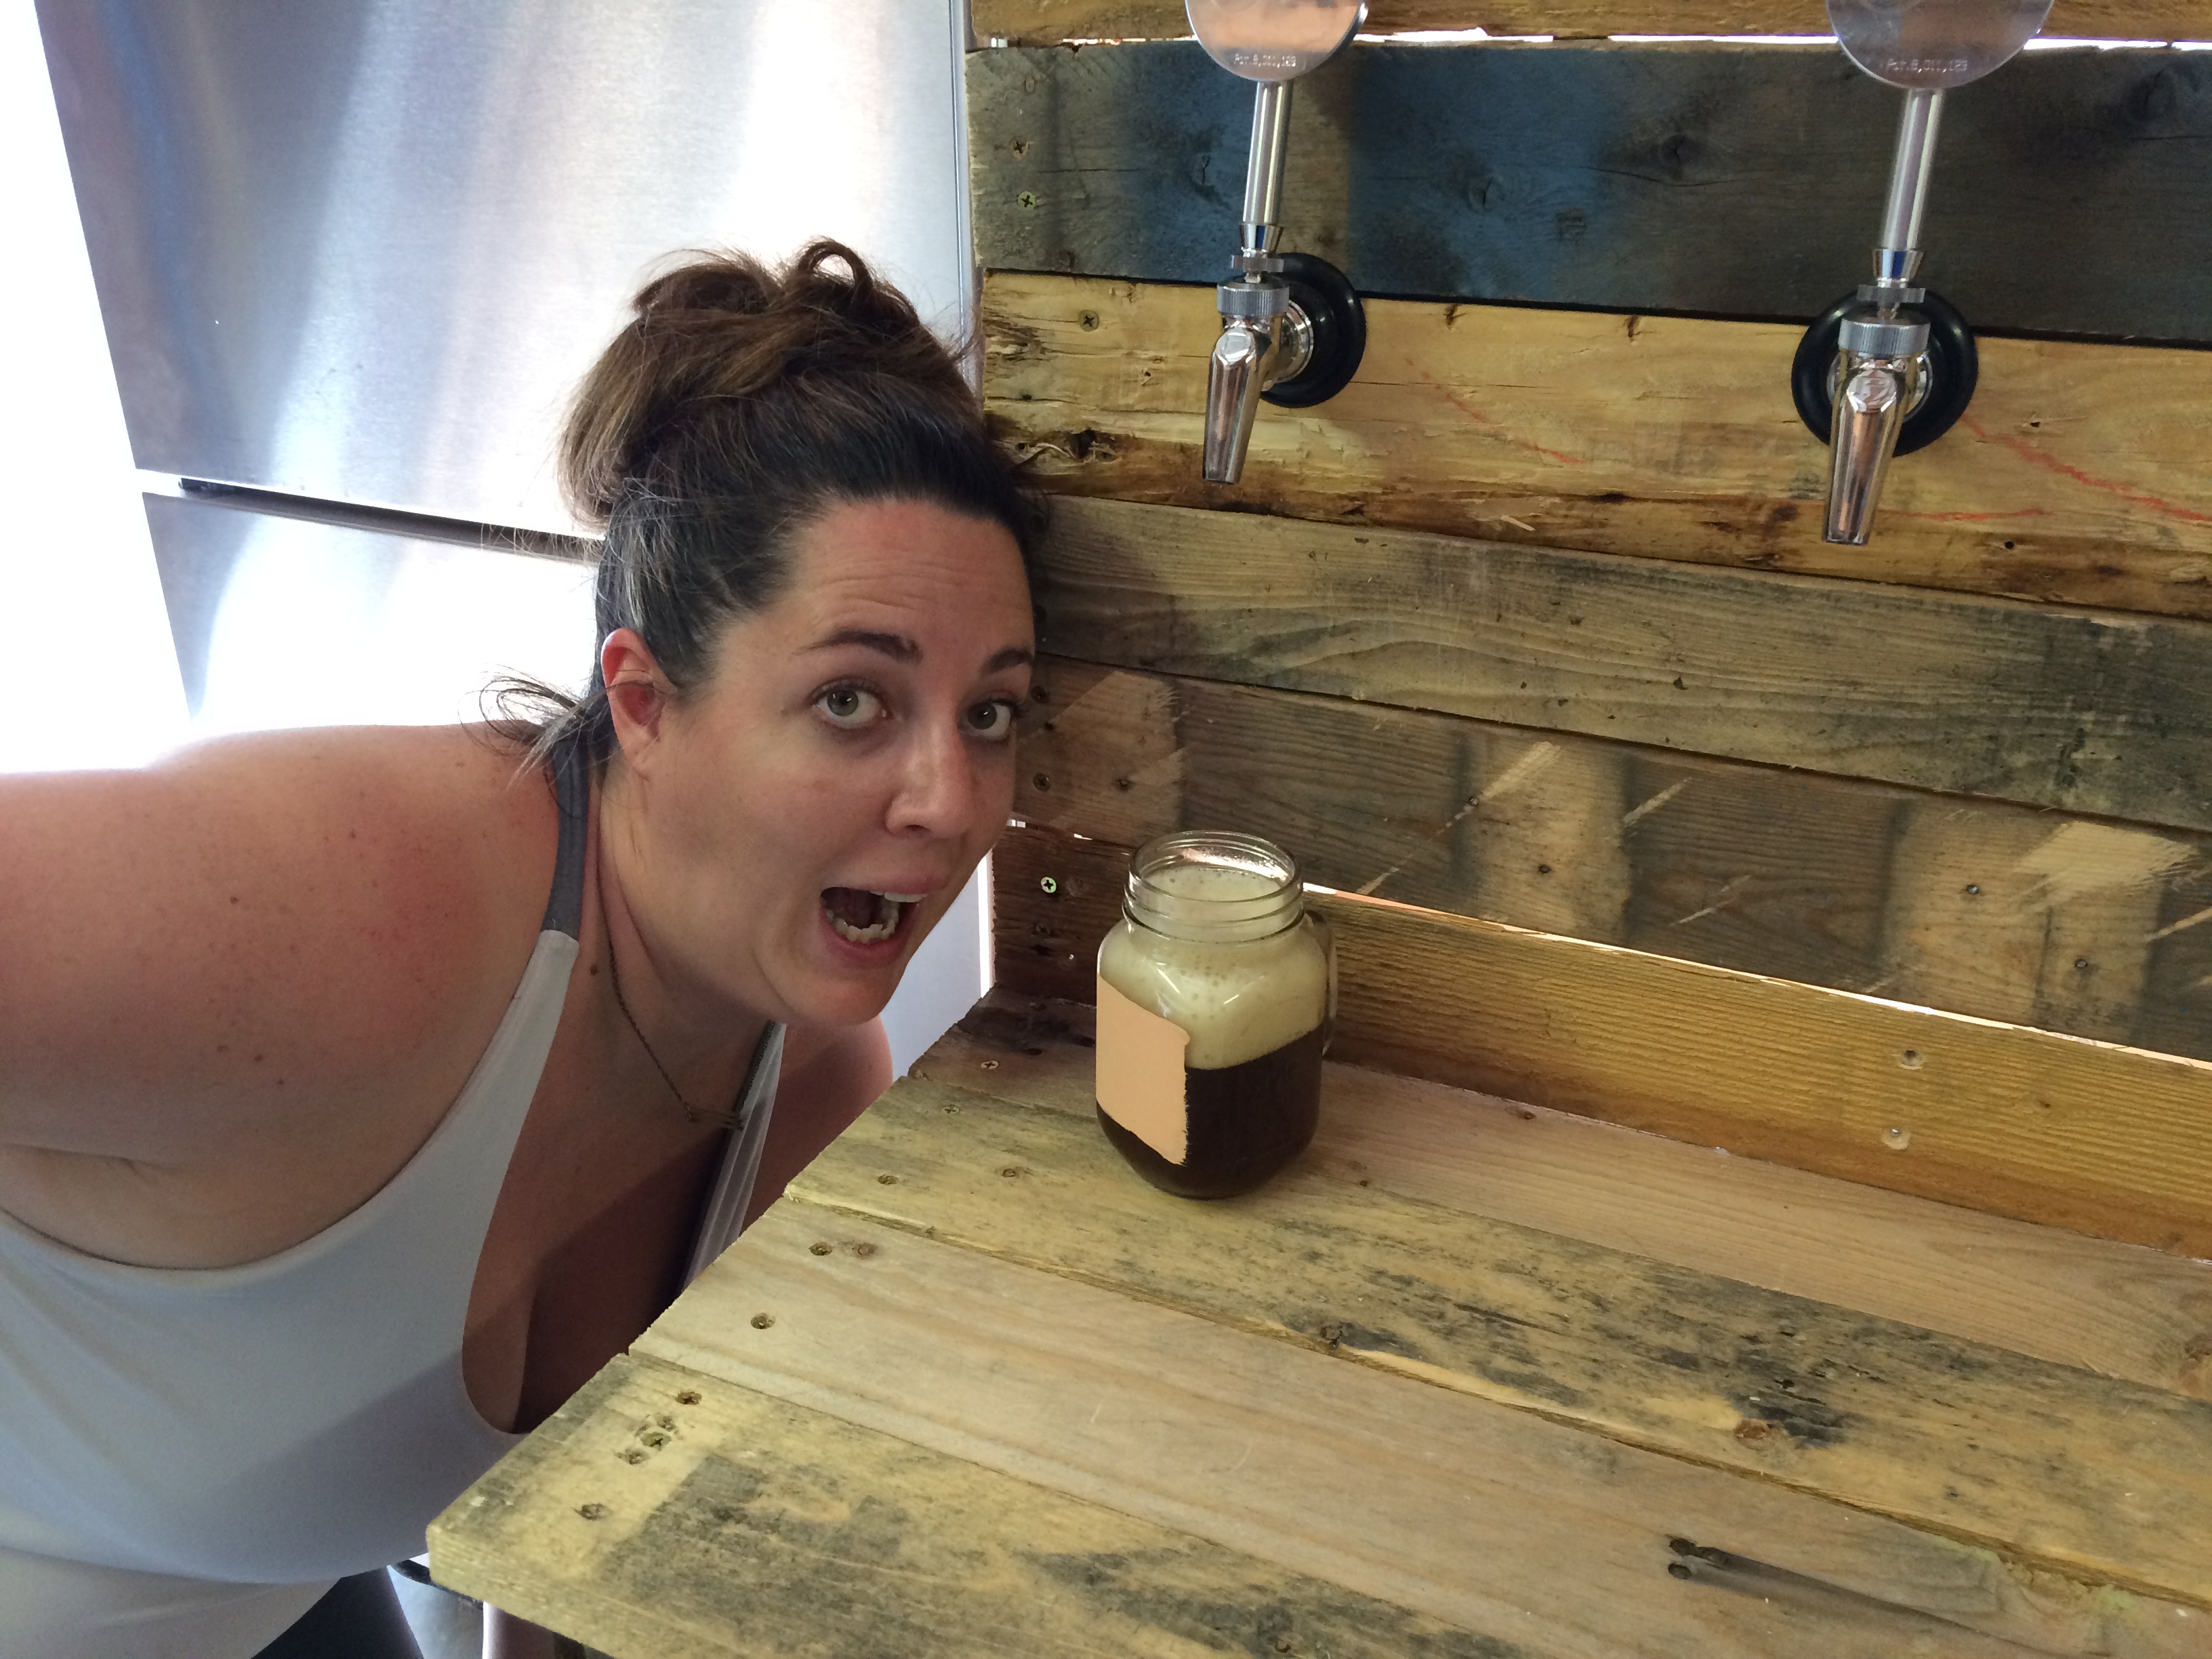
With everything looked up, it was time to test!
 |
 |
 |
This project was the first time building something from scratch without any plans! We couldn’t be happier with the look and can’t wait to show this off at the wedding!